
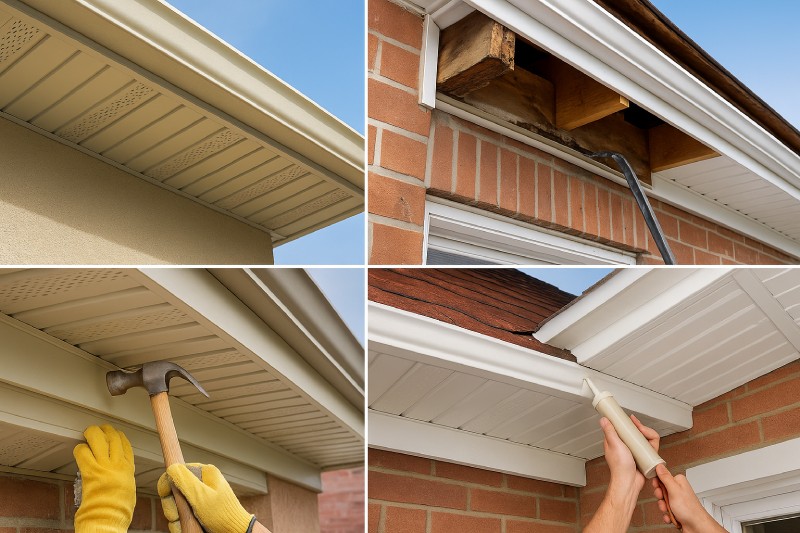
Is your home showing signs of wear beneath the eaves? Maybe dusty vents, sagging soffit, or critter access?
Ignoring a failing soffit isn’t just an aesthetic issue-it can let moisture, pests, or damage creep into your attic and roofing structure. Left untreated, these problems escalate into roof repair nightmares.
That’s why installing vinyl soffit properly matters. Fresno homes face high summer heat, strong sun exposure, and occasional pests.
If the soffit is cracked, poorly ventilated, or improperly fastened, it won’t perform well.
In this article, you’ll learn hands‑on how to plan, install, and maintain vinyl soffit that stands up to local conditions-and deliver an attic ventilation boost too.
Why Fresno Homes Benefit from Vinyl Soffit
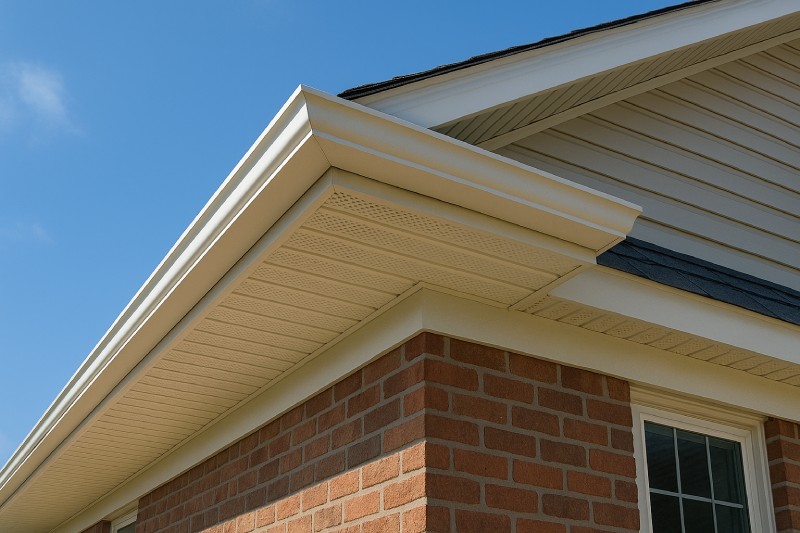
Fresno’s climate puts soffits to the test with intense sun, heat, and seasonal winds. Vinyl soffit resists rot and insect damage far better than wood, and won’t corrode like aluminum. It stays stable in UV exposure and is low-maintenance; just occasional cleaning keeps it looking fresh.
Compared to wood or metal, it holds its shape against moisture swings and is cost‑effective over time.
Plus, vinyl soffit panels can be vented or solid. Proper ventilation via soffit vents helps release attic heat and moisture, reducing strain on your ridge vent.
When installed per California building codes and manufacturer guidelines, it helps regulate attic temps and minimize mold growth.
Planning for Installation and Local Permits
Before you start cutting panels, you need to cover planning. Fresno city rules may require a building permit for soffit replacement if structural framing or fascia changes are involved.
Always verify with the Fresno building department. Manufacturer instructions must be followed too, and must align with California building codes (IRC Section R704) on nailing intervals and expansion gaps.
Decide whether to use vented soffit panels to meet attic ventilation needs. Solid panels are fine in enclosed areas, but a vented soffit is recommended near ridge vents or gable vents to maintain airflow.
This planning stage ensures compliance and long‑term performance.
Essential Tools, Materials, and Jobsite Prep
To get started, you’ll need:
- Accessories: F‑channel or back‑to‑back J‑channel for wall and fascia edges
- Panels: vented or solid vinyl soffit
- Fasteners: corrosion‑resistant nails or screws per manufacturer specs
- Tools: circular or miter saw with fine‑tooth blade, level, chalk line, measuring tape
Store vinyl panels flat in shade so they acclimate before installation. Clear the eave area of debris and check fascia boards for rot. If wood is damaged, repair it before installing the soffit.
Preparing a level surface and ensuring proper underlayment or flashing makes the difference.
Pre‑Installation & Surface Preparation
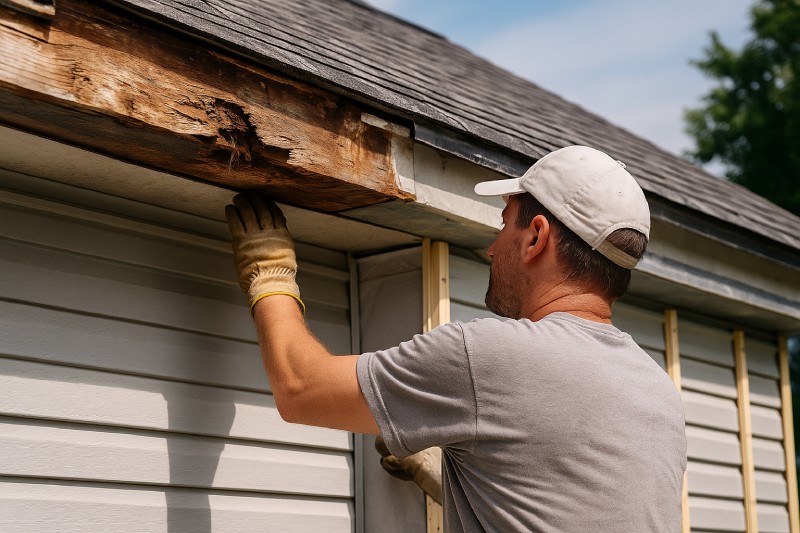
First step: inspect existing eaves. Open rafters (new construction) or enclosed substrate (remodel) require different prep. All unstable or rotted wood must be removed. Clean the underside and install or repair any water‑resistive barrier or flashing to prevent moisture intrusion.
If you’re transitioning from an old soffit to a new one, remove damaged sections carefully. Ensure the substrate is flat and straight. If irregularities exist, add furring strips or a nailing base to create a uniform surface before installing receiver channels.
Installing Receiver Channels and Nailing Strips
Next, install receiving channels at the wall and fascia edges. Use F‑channel or back‑to‑back J‑channels, fastening 8–12 inches on center, and always nail in the center of the channel slot so panels can slide with thermal movement.
If your eaves span is over 16 inches, add nailing strips between channels to support the panel. These should be straight, firmly secured, and spaced evenly.
Code requires no unsupported spans greater than 16 inches in non‑coastal areas, and stricter rules apply in high‑wind zones.
Measuring and Cutting Vinyl Soffit Panels
Measure from the wall channel to the fascia channel precisely, then subtract ½ inch for expansion if the average temperature, or roughly ⅜ inch shorter in hot weather. This leaves room for panels to expand and contract without buckling.
Use a fine‑tooth saw blade or vinyl‑cutting blade to avoid cracking. Mark your measurement clearly, then cut gently.
Avoid forcing the cut or twisting the panel. Straight, gentle cuts preserve the locking edges.
Fastening Panels with Locking and Nailing Techniques
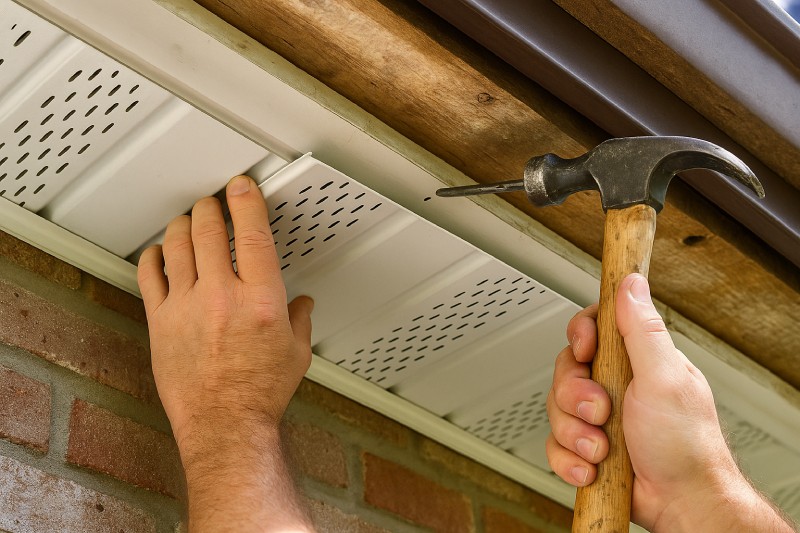
Begin with the first panel: slide it into the wall channel, flex it into the fascia channel, and loosely fasten it through the center of slotted holes.
The next panels lock into the previous panel and also nail through vent holes or hem slots-never nail tight. Leave 1/4 inch gap at the edges to allow movement.
Work along the eave steadily. Keep nails centered in slots, about 8-12 inches apart. Nails must penetrate at least 1¼ inches into wood substrate.
As you install each panel, make sure it’s flush and locked before moving on.
Handling Corners, Transitions, and Trim Work
Where soffit wraps a corner, install back-to-back J‑channel or double receiving channel with a ¼ inch expansion gap. Miter-cut the panel ends so they fit neatly inside the channel.
If transitioning to fascia boards, use utility trim or fascia cap to finish edges cleanly and cover fasteners.
Whenever a panel edge needs face‑nailing (for fascia cover), drill pilot holes in the fascia cover first.
Nail through the V‑groove of the soffit panel into the fascia, spacing nails no more than 24 inches apart.
Ventilation and Final Finishing Steps
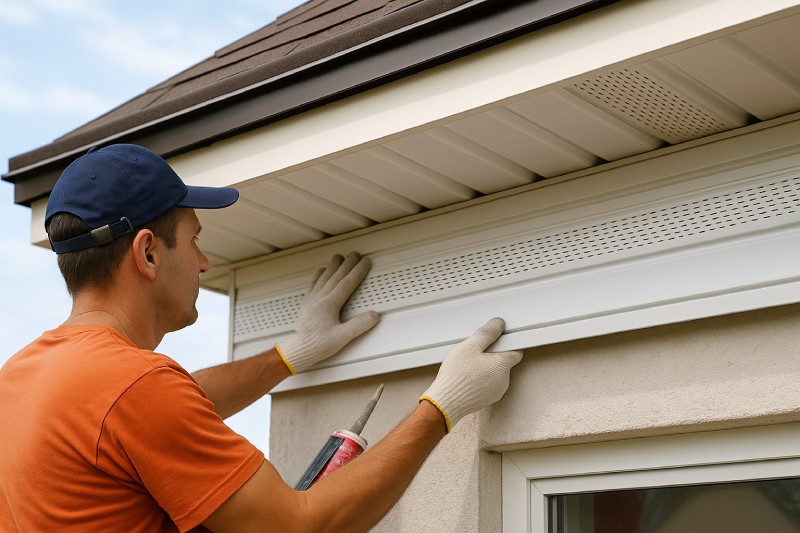
If using vented soffit sections, ensure they align with attic ventilation needs, usually 1 sq ft of intake per 300 sq ft of attic floor area when matched with a roof ridge vent.
Clean debris from slots and channels. Inspect each seam to confirm panels are locked, gaps left for thermal expansion, and edges tucked into receiving channels.
Install drip edge and fascia boards if part of the project, and caulk any trim‑to‑trim seams as necessary. Give the installation a final flush check and clean.
Maintenance Tips for Lasting Performance
Annual inspection is wise. Look for loose panels, fasteners coming through slots too tightly, and dirt buildup in vent openings. Clean the soffit gently with mild soap and a soft brush. Watch for UV fading or staining, if needed, touch‑up paint or replace small sections.
Check soffit vents to make sure they’re clear of insulation or debris. Proper attic airflow prevents moisture buildup and extends the lifespan of your roof.
Cost Estimate and Project Pricing in Fresno
Based on current data, vinyl soffit installation in Fresno costs about $6 to $10 per linear foot, including materials and labor.
Home projects or simpler jobs might run $5–$6/ft. More complex roofing lines, high‑access homes, or attic repairs might push prices toward $14–$20/ft.
Here’s a quick cost table:
| Project Size (linear ft) | Estimated Cost Range |
| 100 ft | $600-$1,000 |
| 200 ft | $1,200-$2,000 |
| 300 ft | $1,800-$3,000 |
Keep in mind: if fascia boards are replaced at the same time, that adds $5 to $11 per foot in total cost in Fresno.
Permits may add $50-$250, depending on local requirements.
Condition of underlying framing or repairs, labor shortages, or the need for project supervision can all adjust pricing upward.
FAQs on Vinyl Soffit Installation in Fresno
How long does vinyl soffit installation take?
A typical single-story home with around 200 ft of soffit takes 1-2 days, depending on complexity, prep work, and weather conditions.
Can I do a DIY soffit installation myself?
Yes, vinyl soffit is considered do‑it‑yourself friendly; many homeowners report that “it seems fairly straightforward” once you get the hang of locking panels and working above your head.
But working safely from ladders and following code and manufacturer guidance is essential.
Do I need a building permit for soffit replacement?
If you’re replacing soffit like‑for‑like without structural changes, often no permit is needed.
But if framing, fascia, or ventilation systems change, contact the City of Fresno planning department to verify.
Should I choose vented or solid soffit panels?
In Fresno, a vented soffit paired with a ridge vent delivers balanced attic airflow. Solid soffit is acceptable in enclosed sections, like enclosed porches, but for attic intake, vented is best.
Final Thoughts and Local Hiring Guidance
Proper installation of vinyl roof soffit protects your home’s under‑eave structure, supports attic ventilation, and keeps pests and moisture out. For Fresno homeowners, it offers excellent durability with low maintenance and a good price per linear foot.
If you’d rather leave the job to insured, licensed professionals, Fresno Roof Repair brings local expertise, VSI certifications, and compliance with local building codes.
Contact us for a free estimate, and let us help keep your roof system in top shape.
When vinyl soffit is installed correctly, with correct channel spacing, expansion gaps, secure fastening, and ventilation, it not only cleanly finishes your eaves but also extends the life of your roof system in Fresno’s demanding climate.
Need help planning or scheduling soffit work? Just reach out at fresnoroofrepair.net to get started.

Alexander Johnson is an experienced roofing professional with more than 25 years in the industry and serves as CEO of Fresno Roof Repair. His expertise combines traditional craftsmanship with modern technology, with a focus on durable roofing solutions designed for Fresno’s diverse climate.