Are you a homeowner looking to ensure your metal roof stays leak-free and properly protected? If so, you’ve come to the right place. Installing a valley on a metal roof is a critical step in the roof repair process, as it effectively channels rainwater away from your roof, preventing costly water damage. Whether you’re a handy DIY enthusiast or simply curious about the installation process, this comprehensive guide will walk you through the steps to install a valley on your own metal roof. So, grab your tools and let’s dive right in!
Choosing the Right Valley Material for your Metal Roof
is crucial for ensuring its durability and longevity. With so many options available in the market, it is important to make an informed decision that suits your specific needs. Here are a few factors to consider when selecting the perfect valley material for your metal roof.
The first consideration is the type of metal roof you have. Different valley materials work best with certain metal roof materials. For example, if you have a standing seam metal roof, you will need a valley material that is specifically designed for this type of roof. On the other hand, if you have a corrugated metal roof, you will need a valley material that can accommodate the ridges and grooves of the roof.
Weather resistance and durability
Another important factor to consider is the weather resistance and durability of the valley material. Metal roofs are exposed to harsh weather conditions such as rain, snow, and intense sunlight. Therefore, the valley material you choose should be able to withstand these elements without getting worn out or damaged easily. Look for valley materials that have high resistance to corrosion, UV rays, and extreme temperatures.
Compatibility with other roofing materials
In addition to considering the compatibility with your metal roof, it is also important to ensure that the valley material is compatible with other roofing materials on your roof. This includes the underlayment, flashing, and any other components that are already installed. Make sure that the valley material is designed to work seamlessly with these other materials to prevent any potential leaks or issues in the future.
Aesthetics
Lastly, consider the aesthetic appeal of the valley material. While the primary function of the valley is to channel water away from the roof, it is still visible on the exterior of your home. Choose a valley material that complements the overall design and style of your metal roof. Whether you prefer a traditional or modern look, there are various valley materials available in different colors, finishes, and styles to suit your preferences.
By carefully considering these factors, you can choose the right valley material for your metal roof that ensures proper functionality, durability, and enhances the overall aesthetics of your home. Remember to consult with a professional roofer or contractor if you are unsure about which valley material is best suited for your metal roof.
Preparing the Roof Surface for Valley Installation
Before installing a valley on a metal roof, it is essential to properly prepare the roof surface to ensure a smooth and secure installation. This includes cleaning the roof, removing any debris or obstructions, and inspecting the roof for any damage or potential issues that may affect the installation process.
First, start by thoroughly cleaning the roof surface to remove dirt, dust, and any loose materials. This can be done using a broom or brush to sweep away debris, followed by using a pressure washer or hose to rinse off any remaining dirt. Cleaning the roof surface not only provides a clean and stable base for the valley installation, but it also helps maintain the overall appearance and longevity of the roof.
Next, carefully inspect the roof for any signs of damage or issue that may impact the valley installation. Look for loose or damaged metal panels, rust spots, or any areas where the roof may be compromised. It is important to address any damage or repairs before proceeding with the installation to prevent further issues down the line.
Additionally, check the metal roof for any existing penetrations, such as vent pipes or chimneys, located in the area where the valley will be installed. These penetrations may require special attention and flashing techniques to ensure a proper seal and prevent leaks.
Once the roof surface is clean and free of damage, it is a good idea to mark the intended path of the valley on the roof. This can be done using chalk or a pencil to outline the desired location of the valley. This will serve as a guide during the installation process and help ensure accuracy and precision.
In summary, on a metal roof involves thorough cleaning, inspection for damage, and marking the path of the valley. Taking these steps will help provide a stable and secure base for the installation and contribute to the overall durability and functionality of the valley on the metal roof.
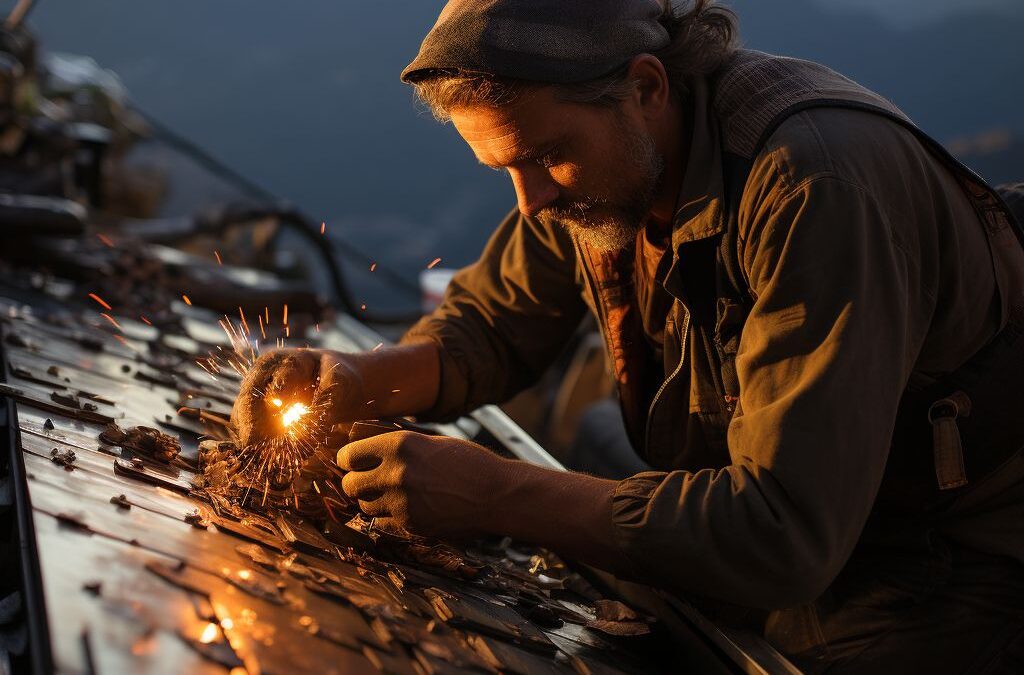
Installing the Valley Flashing on a Metal Roof
To ensure a proper installation of the valley on your metal roof, follow these steps:
1. Measure and cut the valley flashing: Begin by measuring the length of the valley where the flashing will be installed. Use a metal shear or tin snips to cut the flashing to the appropriate size, ensuring that it extends past the edge of the roof by at least 6 inches on either side.
2. Position the valley flashing: Start by placing the valley flashing in the valley of the roof, ensuring that it is centered and precisely aligned with the roof’s slope. Use roofing nails or screws to secure the flashing to the roof. It is recommended to install a nail or screw every 8-10 inches along the edges of the flashing.
3. Overlap the valley flashing: If you have multiple sections of valley flashing, ensure that each section overlaps the previous one by at least 2 inches. This will create a watertight seal and prevent water from seeping into the roof.
4. Secure the valley flashing: Use a metal brake or hand seamer to fold the edges of the flashing over the roof’s surface. This will help to anchor the flashing securely in place and provide extra protection against wind and water damage. Be sure to use roofing nails or screws to secure the folded edges of the flashing to the roof.
5. Apply sealant: Once the valley flashing is securely in place, use a high-quality roofing sealant to seal any gaps or seams. Apply the sealant carefully along the edges and center of the flashing, ensuring full coverage to prevent any potential leaks. It is crucial to choose a sealant that is compatible with both the metal roof and the material of the valley flashing.
By following these steps, you can install the valley flashing on your metal roof correctly and help prevent any potential leaks or water damage in the future. Remember to always prioritize safety and consult a professional if you are unsure about any aspect of the installation process.
Securing the Valley Flashing to Ensure Proper Drainage
To ensure proper drainage and the longevity of your metal roof, it is crucial to securely fasten the valley flashing in place. The valley flashing helps to direct rainwater, snow, and debris away from the roof and into the gutters, preventing any potential water damage or leaks. Follow these steps to properly secure the valley flashing and ensure effective drainage on your metal roof.
First, position the valley flashing in the center of the roof’s valley, making sure it overlaps the metal roofing panels on both sides. Use roofing screws or nails to fasten the flashing to the roof, ensuring that they penetrate both the flashing and the underlying roof deck. Make sure to space the fasteners evenly along the length of the valley so that the flashing remains securely in place.
Next, it is important to apply roofing cement or sealant along the edges and joints of the valley flashing. This will help create a watertight seal and prevent any potential water intrusion. Using a caulking gun or roof brush, carefully apply the sealant to the seams and edges of the flashing, ensuring complete coverage.
In addition to securing the valley flashing itself, it is also essential to secure any overlapping metal roofing panels. This can be done by using metal screws or nails to fasten the panels to the roof or by using roofing clips or clamps specifically designed for metal roofs. This will help prevent any movement or shifting of the roofing panels, ensuring that the valley flashing remains properly positioned and able to effectively channel water.
By taking the time to securely fasten the valley flashing and properly seal any joints or edges, you can ensure that your metal roof is equipped to handle any weather conditions and effectively drain water away. Regularly inspect the valleys for any signs of damage or wear and make any necessary repairs promptly to maintain the integrity of the flashing and prevent potential leaks. Proper installation and maintenance of the valley flashing will help extend the lifespan of your metal roof and protect your home from water damage.
Sealing and Waterproofing the Valley on a Metal Roof
Properly is crucial for preventing leaks and ensuring the longevity of your roof. The valley is a vulnerable area where two roof slopes meet, and if not properly sealed, water can penetrate and cause costly damage. Here are some steps to effectively seal and waterproof the valley on your metal roof.
Firstly, ensure that the valley flashing is securely in place and properly installed. The flashing should extend beyond the edge of the valley and be securely fastened to the roof. This will provide a barrier against water infiltration.
Next, use a reliable roofing sealant that is specifically designed for metal roofs. Apply the sealant along the edges of the valley flashing, ensuring that it completely seals any gaps or joints. A high-quality sealant will be resistant to extreme weather conditions and prevent water from seeping into the valley.
To further enhance water resistance, consider using a self-adhesive, waterproofing membrane. This membrane can be applied over the valley flashing and provides an added layer of protection against moisture infiltration. Make sure to properly align and apply the membrane, ensuring that it adheres securely to the metal roof surface.
Additionally, inspect the condition of the sealant and waterproofing membrane regularly. Extreme temperatures and weather conditions can cause deterioration over time, so it’s important to perform routine maintenance checks. If any signs of wear or damage are detected, promptly replace or repair the sealant and membrane to maintain the integrity of the valley.
Remember, proper installation and maintenance of the valley flashing, as well as regular sealing and waterproofing, are essential in keeping your metal roof watertight and durable. By following these steps, you can protect your roof from leaks and extend its lifespan.
Maintaining and Inspecting the Valley to Prevent Leaks
Regular maintenance and inspection of the valley on your metal roof is crucial for preventing leaks and ensuring its long-lasting performance. By keeping a close eye on the valley area, you can identify and address any potential issues before they escalate into major problems. Here are some key steps to follow when maintaining and inspecting the valley on your metal roof.
Firstly, it is important to visually inspect the valley for any signs of damage or wear. Check for any cracks, gaps, or rusting along the flashing or fasteners. If you notice any issues, it is essential to address them immediately to prevent water penetration. Additionally, look out for any debris or leaves that may have accumulated in the valley, as these can clog the drainage pathway and lead to water pooling.
Next, pay attention to the condition of the sealant in the valley area. Over time, the sealant may deteriorate due to exposure to harsh weather conditions and UV rays. Inspect the sealant for any signs of cracking or peeling, as this can compromise its effectiveness in preventing leaks. If necessary, apply a fresh layer of sealant to ensure optimal waterproofing.
In addition to visual inspections, it is advisable to schedule regular professional inspections for your metal roof valley. Roofing experts can conduct a thorough evaluation of the valley area, identifying any hidden issues or potential weak points that may lead to leaks. They will check the condition of the flashing, fasteners, and sealant, ensuring all elements are properly installed and functioning correctly.
To conclude, maintaining and inspecting the valley on your metal roof is essential for preventing leaks and maintaining its longevity. By regularly examining the valley for damage, clearing any debris, and ensuring the effectiveness of the sealant, you can mitigate the risk of water intrusion and protect your roof from costly damages. Remember to schedule professional inspections to ensure a comprehensive evaluation of the valley and address any potential problems promptly.
People Also Ask
1. How do you install a valley on a metal roof?
To install a valley on a metal roof, start by measuring and cutting the metal valley flashing to the required length. Then, secure the flashing in place using roofing nails or screws, ensuring a watertight seal. Finally, apply a layer of roofing sealant along the edges of the flashing for additional protection.
2. What tools are needed to install a valley on a metal roof?
Some essential tools needed to install a valley on a metal roof include a tape measure, tin snips or a metal cutting saw, a drill or impact driver, roofing nails or screws, and roofing sealant. Additionally, it may be helpful to have a ladder, safety harness, and gloves for safe installation.
3. Can a valley be installed on a curved metal roof?
Yes, a valley can be installed on a curved metal roof. However, it may require special flashing techniques and customized metal valley flashing to fit the curvature of the roof. It is advisable to consult with a professional or roofing manufacturer that specializes in curved metal roofs for the best results.
4. Should I hire a professional to install a valley on my metal roof?
While it is possible to install a valley on a metal roof as a DIY project, it is often recommended to hire a professional roofer, especially if you lack experience or knowledge in roofing installation. Professionals have the expertise, tools, and knowledge to ensure a proper installation, minimizing the risk of leaks or other issues.
5. How long does it take to install a valley on a metal roof?
The time required to install a valley on a metal roof can vary depending on the complexity of the roof design, the size of the valley, and the experience of the installer. On average, the installation process can take several hours to a full day. It is best to allocate enough time and plan accordingly to complete the installation efficiently and effectively.
In Conclusion
In conclusion, installing a valley on a metal roof requires careful planning and precise execution. It is essential to ensure that the valley is properly installed to prevent any leaks or water damage. By following the steps outlined in this guide and seeking professional assistance if needed, you can successfully install a valley on your metal roof.
Remember to take accurate measurements, choose the correct materials, and securely fasten the valley to the roof. Additionally, regularly inspect and maintain the valley to ensure its longevity and prevent any potential issues.
If you have any further questions or need specific guidance for your metal roof installation, it is advisable to consult a professional roofer or seek expert advice. Proper installation is crucial to the overall safety and integrity of your metal roof, and by following the correct procedures, you can enjoy a durable and reliable roofing system for years to come.

Commercial Roofing Consultant
Matthew Carter’s forte lies in commercial roofing systems, particularly flat roofs and metal structures. His expertise and attention to detail guarantee reliable and tailored solutions for businesses in Fresno.