Whether you’re a seasoned adventurer or a weekend warrior, owning an RV opens up a world of exploration and excitement. But as many RV owners know all too well, water damage to the roof can quickly put a damper on your outdoor adventures. From pesky leaks and sagging ceilings to mold and structural issues, ignoring roof damage can lead to significant repairs or even the need for a complete replacement. But fear not, intrepid nomads! In this comprehensive guide, we’ll delve into the world of RV roof repair, equipping you with the knowledge and tools you need to tackle water damage head-on. So grab your ladder and don your DIY hat – it’s time to restore your RV’s roof to its former glory and hit the road with confidence!
Assessing the Extent of RV Roof Water Damage
When it comes to repairing water damage on your RV roof, the first step is to assess the extent of the damage. This is crucial in determining the necessary repairs and the level of urgency needed. RV roof water damage can vary from minor leaks to more severe issues that require immediate attention.
One way to assess the extent of the water damage is by visually inspecting the roof. Look for signs of discoloration, sagging, or soft spots, as these can indicate areas where water has penetrated the roof membrane. It’s also important to check the interior of your RV for any signs of water stains or moisture, as this can give you a better idea of where the damage is located and how extensive it is.
Another method of assessing water damage is by conducting a moisture test. This involves using a moisture meter to measure the moisture levels in the affected areas of the roof. By doing so, you can pinpoint the areas that are most saturated and require immediate attention.
During the assessment process, it’s crucial to take note of any structural damage or compromised components. This includes examining the condition of the roof membrane, seams, vents, skylights, and any other openings that may be potential entry points for water. Identifying these areas will help you determine the necessary repairs and prevent further damage from occurring.
Once you have assessed the extent of the water damage, it’s essential to prioritize the repairs based on the severity of the damages. Minor leaks and damages can often be addressed with DIY techniques, while more severe issues may require professional help. By accurately assessing the extent of the RV roof water damage, you can take the necessary steps to restore the integrity of your roof and ensure the longevity of your RV.
Identifying Common Causes of RV Roof Water Damage
RV roof water damage can be caused by various factors, and it is important to identify these common causes in order to prevent future damage. By understanding what leads to water damage on your RV roof, you can take proactive measures to minimize the risk and keep your vehicle in optimal condition for years to come.
One of the main causes of RV roof water damage is leaks around vents, skylights, and other roof fixtures. Over time, the seals around these areas can deteriorate, allowing water to seep through and infiltrate the interior of the RV. Regularly inspecting and maintaining these seals can help prevent leaks and subsequent water damage.
Another common cause of water damage is a damaged or deteriorated roof membrane. The RV roof membrane serves as a protective barrier against the elements, but it can become cracked, warped, or worn out over time. This can lead to water penetration and subsequent damage to the underlying structure of the roof. Inspecting the roof membrane regularly and addressing any signs of damage promptly can help prevent costly repairs down the line.
Additionally, poor installation or maintenance of roof components can contribute to water damage. Improperly installed roof vents, antennas, or solar panels can create gaps in the roof structure, allowing water to enter. Similarly, neglecting routine maintenance tasks such as cleaning the roof and clearing debris can lead to clogged drains and pooling water, which can ultimately cause damage.
To prevent water damage to your RV roof, it is crucial to address these common causes proactively. Regular inspections, maintenance, and repairs will help keep your RV roof in excellent condition, ensuring that you can enjoy your travels without the worry of leaks or water damage.
Inspect and Maintain Seals
Regularly inspect the seals around vents, skylights, and other roof fixtures for any signs of deterioration. Look for cracks, gaps, or areas of discoloration that may indicate a leak. If any issues are found, promptly replace the seals to prevent water from entering the roof.
Care for the Roof Membrane
Inspect the roof membrane regularly for any signs of damage, such as cracks, tears, or bubbling. If any areas are compromised, repair or replace the membrane as necessary to maintain its integrity. Additionally, consider applying a protective coating to the membrane to enhance its durability and resistance to water penetration.
Ensure Proper Installation and Maintenance
When installing roof components, such as vents or antennas, ensure they are properly sealed and secured to prevent water infiltration. Regularly clean the roof, removing any debris that may accumulate and cause clogs. Clear the roof drains to ensure proper water drainage and prevent pooling that can lead to damage.
By being proactive in identifying and addressing the common causes of RV roof water damage, you can extend the lifespan of your RV roof and minimize the risk of costly repairs. Regular inspections, maintenance, and prompt repairs are key to keeping your RV roof in excellent condition for years to come.
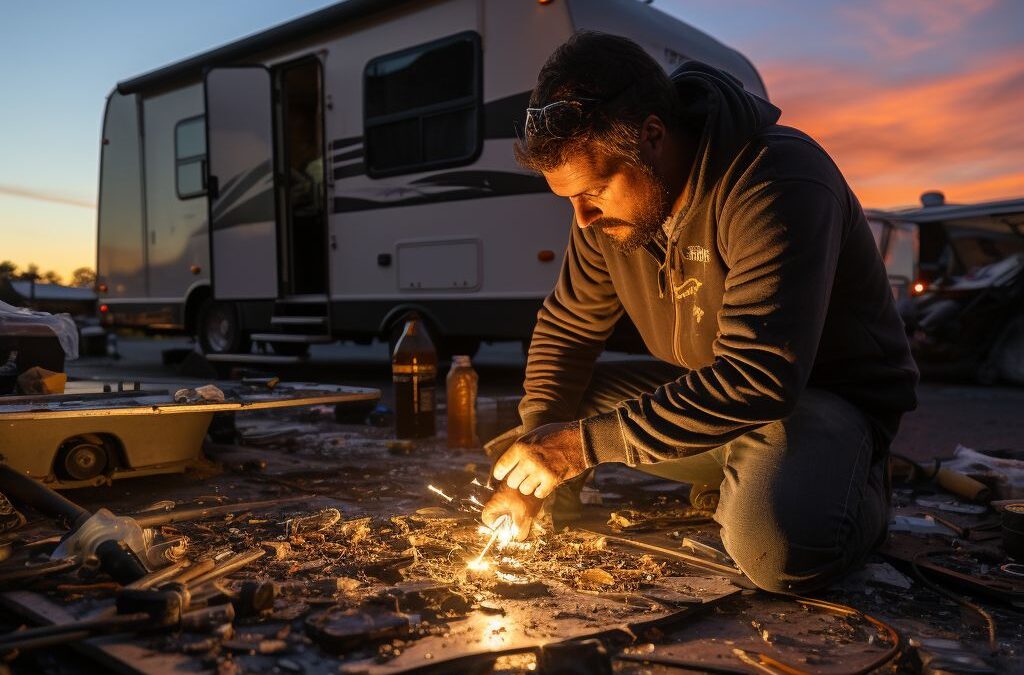
Steps to Prepare for RV Roof Water Damage Repair
Before starting the repair process for RV roof water damage, it is essential to prepare yourself and your RV. By following a few simple steps, you can ensure a smooth and successful repair experience.
First, gather all the necessary materials and tools for the repair. You will need a ladder, safety goggles, gloves, a utility knife, cleaning agents, a strong adhesive, a putty knife, and a paintbrush. Having everything ready before you begin will save you time and prevent any interruptions during the repair process.
Next, thoroughly clean the damaged area of the RV roof. Use a mild detergent and a soft-bristle brush to remove all dirt, grime, and debris from the surface. Ensure that the area is completely dry before moving forward with the repair.
Once the area is clean and dry, assess the extent of the water damage. Look for signs of water leakage, such as discoloration, soft spots, or bubbling of the roof material. Take note of the areas that require repair or replacement.
Now, it is time to protect the surrounding areas of the repair site. Use plastic sheets or large tarps to cover nearby furniture, appliances, or any other items that may be damaged during the repair process. This precaution will safeguard your belongings from any accidental spills or debris.
Lastly, it is crucial to prioritize safety during the repair process. Always wear protective gear, including safety goggles and gloves, to prevent any injuries. Additionally, ensure that the surrounding environment is safe and free from any hazards.
By following these , you will set yourself up for a successful restoration process. Remember, taking the time to gather the necessary tools, clean the area, assess the damage, protect the surrounding areas, and prioritize safety will ultimately lead to a well-executed repair that will prolong the life of your RV.
Effective Techniques to Repair Minor RV Roof Water Damage
When it comes to minor RV roof water damage, quick and effective repairs can prevent further deterioration and save you from costly repairs down the line. If you notice any signs of water damage on your RV roof, it’s crucial to address the issue promptly to avoid more extensive damage to your vehicle. Here are a few techniques that can help you repair minor RV roof water damage.
First, start by thoroughly cleaning the damaged area. Remove any debris, dirt, or loose material that could interfere with the repair process. A clean surface will ensure better adhesion and a more reliable repair.
Next, assess the extent of the damage. Is it limited to a small area or does it cover a larger section of your RV’s roof? This will help you determine the right materials and techniques needed for the repair. Minor damages, such as small cracks or punctures, can often be fixed with the use of RV roof sealants or coatings.
Consider using a high-quality RV roof sealant that is specifically designed for repairing small damages. These sealants are typically formulated to adhere to different roofing materials commonly used in RVs, such as rubber, fiberglass, or aluminum. Apply the sealant using a caulking gun or a brush, following the manufacturer’s instructions.
For more severe damages that have resulted in leaks or larger cracks, consider using a patch kit designed specifically for RV roof repairs. These kits often include materials like repair fabric and adhesive, allowing you to reinforce the damaged area and create a seamless surface. Again, make sure to carefully follow the instructions provided with the patch kit for the best results.
Additionally, if the damaged area is near or around roof vents, skylights, or other fixtures, it’s essential to inspect and reseal these components as well. Apply an RV roof sealant or caulk around the edges of these fixtures to ensure a watertight seal.
Remember, even though these techniques can effectively repair minor RV roof water damage, it’s always a good idea to monitor the repaired area for any signs of future issues. Regular maintenance, such as inspecting your RV roof for any damages or wear, can help you catch any potential problems early on and prevent further water damage.
Using Sealants and Coatings to Address RV Roof Water Damage
When it comes to addressing RV roof water damage, using sealants and coatings can prove to be highly effective solutions. These products are specifically designed to provide a layer of protection against water infiltration, preventing further damage to your RV’s roof. Let’s take a closer look at how sealants and coatings can be used to address RV roof water damage and protect your vehicle.
Firstly, it is important to properly assess the extent of the water damage on your RV roof before applying any sealants or coatings. This will help you determine if the damage is minor and can be easily fixed with a DIY approach, or if it requires professional help. Once you have determined that it is safe to proceed with self-repair, you can begin the process of applying sealants and coatings.
To begin, thoroughly clean the damaged area of the RV roof. Use a mild detergent and water to remove any dirt, debris, or loose material that may interfere with the adhesion of the sealant or coating. Allow the cleaned area to dry completely before proceeding.
Next, carefully apply a layer of sealant over the damaged area. Choose a high-quality RV roof sealant that is compatible with the material of your RV’s roof. Spread the sealant evenly using a brush or roller, ensuring that it covers the damaged portion entirely. Pay special attention to any cracks, gaps, or seams where water may have penetrated. Allow the sealant to dry as per the manufacturer’s instructions.
Once the sealant has dried, it is time to apply a protective coating over the repaired area. This will not only further secure the sealant but also provide an extra layer of defense against future water damage. Acrylic or elastomeric roof coatings are popular choices for RV roofs due to their durability and ability to withstand various weather conditions.
Using a brush or roller, evenly apply the coating over the sealed area, extending it several inches beyond the repaired section. This ensures that water cannot find its way into any vulnerable areas. Allow the coating to dry completely before exposing your RV to rain or other moisture.
Remember, is an effective way to safeguard your vehicle from further harm. However, it is important to note that in severe cases of water damage, seeking professional help should always be your priority. They have the expertise and specialized tools to tackle extensive repairs and ensure the longevity of your RV’s roof.
Seeking Professional Help for Severe RV Roof Water Damage
When it comes to severe RV roof water damage, it is often best to seek professional help to ensure that the repairs are done correctly and efficiently. While minor damages can often be repaired by DIY enthusiasts, extensive water damage on an RV roof requires the expertise of experienced professionals who specialize in roof repair.
One reason why it is crucial to seek professional help for severe water damage is that these experts have the knowledge and skills to assess the extent of the damage accurately. They can identify any underlying issues that may not be apparent to an untrained eye. By thoroughly examining the roof, they can determine if additional repairs or replacements are necessary, such as repairing damaged insulation or replacing rotted wood.
Another benefit of hiring professionals for severe RV roof water damage is their access to the right tools, equipment, and materials. Roof repair experts have the necessary equipment to safely access the damaged area. They also have access to high-quality sealants, coatings, and other materials that are specifically designed for RV roof repairs. This ensures that the repair is durable and long-lasting, providing optimal protection against future water damage.
Additionally, professionals who specialize in RV roof repair have extensive experience in dealing with various types of water damage situations. They have encountered numerous roof issues and understand the most effective and efficient repair techniques for each specific situation. This expertise allows them to complete the repairs in a timely manner, minimizing the disruption to your RV travel plans.
In conclusion, is essential to ensure that the repairs are done correctly, efficiently, and according to industry standards. By hiring experienced professionals, you can have peace of mind knowing that your RV roof will be restored to its optimal condition, protecting your vehicle and belongings from further water damage. So, don’t hesitate to reach out to a reliable roof repair specialist when faced with severe RV roof water damage.
People Also Ask
1. How do I know if my RV roof has water damage?
You may notice visible signs of water damage such as sagging or discolored ceiling, bulging walls, or water stains. Inspecting the roof for soft spots, bubbles, or cracked caulking can also indicate water damage.
2. Can I repair RV roof water damage myself?
Yes, you can repair RV roof water damage yourself if you have the necessary tools and experience. It typically involves removing the damaged area, applying sealant, and replacing any necessary materials like insulation or ceiling panels.
3. What materials do I need to repair RV roof water damage?
You will need a variety of materials including roof sealant, fiberglass repair kit, roofing tape, replacement insulation, ceiling panels, and possibly screws or nails for reattaching roofing components.
4. How much does it cost to repair RV roof water damage?
The cost of repairing RV roof water damage can vary depending on the extent of the damage and the materials needed. On average, it can cost anywhere from a few hundred to a few thousand dollars for professional repairs.
5. How long does it take to repair RV roof water damage?
The duration of the repair process for RV roof water damage depends on the severity of the damage and your level of experience. It can take anywhere from a few hours to several days to complete the repairs.
In Conclusion
In conclusion, repairing RV roof water damage is a necessary task to maintain the longevity and overall condition of your RV. It is important to thoroughly inspect your roof for any signs of leakage or damage, and promptly address any issues you find.
By following the steps outlined in this guide, you can effectively repair your RV roof water damage yourself, saving you time and money. Remember to start by cleaning and drying the affected area, then applying an appropriate sealant or patching material.
Ensure that you take preventive measures to avoid future water damage, such as regularly inspecting and maintaining your RV roof, and promptly addressing any issues as soon as they arise. Taking these proactive steps will help to avoid costly repairs down the line and will keep your RV in great condition for years to come.
Make the necessary repairs and take the time to protect your investment. With proper maintenance and timely repairs, your RV roof can withstand the elements and provide you with many enjoyable adventures on the road. Safeguard your RV and hit the road worry-free!

Commercial Roofing Consultant
Matthew Carter’s forte lies in commercial roofing systems, particularly flat roofs and metal structures. His expertise and attention to detail guarantee reliable and tailored solutions for businesses in Fresno.