Ceiling damage can be a frustrating aftermath of a roof leak, leaving homeowners grappling with unsightly stains, peeling paint, and weakened structures. Whether it’s a small drip or a major deluge, addressing the damage promptly is crucial to prevent further deterioration and restore your ceiling’s pristine appearance. In this guide, we will delve into the essential steps and expert tips to efficiently repair your ceiling after a roof leak. From assessing the extent of the damage to patching up the affected areas, we’ve got you covered with all the information you need to tackle this repair project confidently. So, roll up your sleeves, grab your tools, and let’s revitalize your ceiling, one step at a time.
Causes of ceiling damage after a roof leak
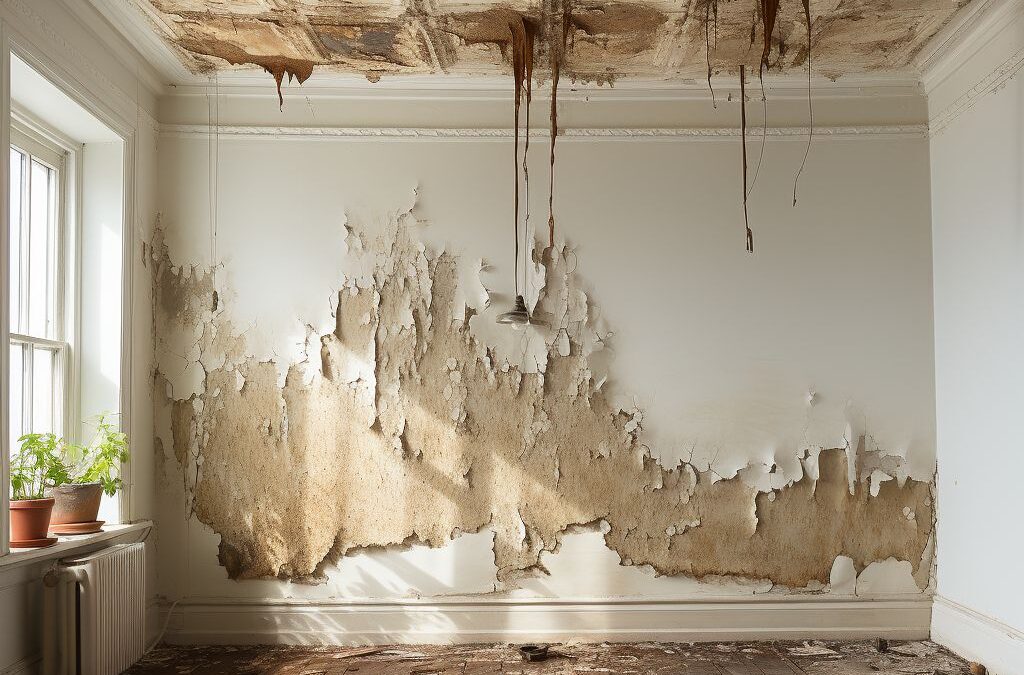
After experiencing a roof leak, it is not uncommon to notice ceiling damage as a result. This damage can manifest in various ways, including water stains, discoloration, peeling paint or wallpaper, sagging, and even structural weakening. Understanding the is crucial in order to effectively repair and prevent further issues.
One of the main is water intrusion. When a roof leak occurs, water can seep through the roofing materials and make its way into the interior of the home. As it travels, it can penetrate the ceiling, causing damage to the surface and potentially reaching the underlying structure. If left unattended, this can lead to mold growth, rot, and further structural damage.
Another cause of ceiling damage after a roof leak is the weight of the accumulated moisture. Over time, the water that has entered the ceiling can make it sag or buckle under the extra weight. This can compromise the integrity of the ceiling and pose a safety hazard if not addressed promptly.
Additionally, the duration and severity of the roof leak can also contribute to the extent of ceiling damage. If a leak goes unnoticed or is left unattended for an extended period of time, the damage to the ceiling can worsen. The longer the moisture remains in contact with the ceiling, the more likely it is to cause mold growth and other issues.
It is important to note that the causes of ceiling damage may vary depending on the specific circumstances of the roof leak. Factors such as the type of roofing material, the location of the leak, and the overall condition of the roof will all play a role in determining the extent and nature of the ceiling damage. Therefore, it is crucial to properly assess the situation and take appropriate measures to repair and prevent future damage.
Assessing the severity of ceiling water damage
is crucial before starting any repair work. This step helps you understand the extent of the damage and determine the necessary actions to restore your ceiling.
To assess the severity of ceiling water damage, begin by inspecting the affected area. Look for visible signs such as discoloration, sagging, peeling paint, or water stains. Carefully examine the surrounding areas as well, as water can travel along beams or insulation, causing damage beyond the initial leak site.
Next, use a moisture meter to measure the moisture levels in the affected area. This tool helps identify hidden moisture that may have penetrated the ceiling material or underlying structures. By checking multiple spots, you can determine the depth and spread of the water damage.
Take note of any softness or weak spots in the ceiling, as these indicate structural damage. Pay attention to the presence of mold or mildew, as prolonged exposure to moisture can promote their growth. Mold and mildew not only compromise the integrity of your ceiling but also pose health risks.
Based on your assessment, you can categorize the severity of the ceiling water damage into three levels:
1. Mild damage: This includes minor discoloration or small water stains. The affected area is relatively small, and the ceiling material is still intact.
2. Moderate damage: In this case, the ceiling may have significant discoloration, sagging, or paint peeling. The moisture may have seeped into the underlying materials, such as drywall or insulation.
3. Severe damage: Severe water damage is characterized by extensive discoloration, sagging, or even ceiling collapse. Mold or mildew growth is likely, and the underlying structures may be heavily affected.
Remember, if you are unsure about the severity of the ceiling water damage or if you notice signs of structural instability, it’s best to consult a professional roofing or restoration contractor. They have the expertise and tools to accurately assess the damage and recommend the appropriate repair methods.
Effective steps to repair a water-damaged ceiling
:
Repairing a water-damaged ceiling is a crucial step in restoring the integrity and aesthetic appeal of your home. With the right techniques and materials, you can successfully repair the damage caused by a roof leak. Here are some effective steps to follow:
1. Identify and fix the source of the leak: Before you start repairing the ceiling, it’s important to identify and fix the root cause of the roof leak. Inspect your roof thoroughly and check for any missing, cracked, or damaged shingles. Clear away any debris or blocked gutters that may be causing water to pool on the roof. Make sure to seal any gaps or cracks in the roof to prevent future leaks.
2. Control the moisture: After addressing the roof leak, it’s essential to dry out the affected area. Use fans, dehumidifiers, or open windows to increase air circulation and speed up the drying process. Eliminate any lingering moisture to prevent the growth of mold or mildew.
3. Remove damaged ceiling materials: Carefully remove any damaged ceiling materials, such as wet drywall or sagging ceiling tiles. Wear protective gear, including gloves and goggles, to avoid any injuries. Use a utility knife or a saw to cut out the damaged areas, ensuring that you remove all the weakened or mold-infested parts.
4. Reinforce the ceiling structure: If the water damage has severely weakened the ceiling structure, you may need to reinforce it before proceeding with repairs. Consult a professional contractor to assess the extent of the damage and provide necessary reinforcements, such as installing new support beams or joists.
5. Replace damaged insulation: Insulation is a crucial barrier against heat loss and moisture. If your insulation has been affected by the water damage, it’s important to replace it. Install new insulation material to ensure proper thermal protection and prevent future issues.
6. Repair and patch the ceiling: Once the damaged materials have been removed and the structure has been reinforced, it’s time to repair and patch the ceiling. Use a joint compound and a putty knife to fill in any gaps or cracks in the ceiling. Smooth out the compound evenly and let it dry completely. Sand the patched areas gently to create a smooth surface before applying a fresh coat of paint.
By following these effective steps, you can successfully restore your ceiling after a roof leak. Remember to work carefully and consult a professional if you encounter any challenges along the way. With proper repair techniques and materials, your ceiling will regain its original strength and beauty.
Choosing the right materials for ceiling repair
after a roof leak is crucial to ensure a long-lasting and effective repair. The materials you use should be able to withstand moisture and provide the necessary protection for your ceiling to prevent future damage.
When it comes to choosing materials for ceiling repair, there are a few key factors to consider. First, make sure to select materials that are specifically designed for water damage repair. These materials are often moisture-resistant and have properties that can help prevent the growth of mold and mildew. This is especially important as damp conditions caused by roof leaks can create an ideal environment for mold growth.
One of the primary materials you will need for ceiling repair is drywall. Drywall is commonly used for this purpose due to its affordability and ease of installation. Look for moisture-resistant drywall, also known as green board or blue board, as it is specifically designed to resist moisture and prevent damage caused by water.
In addition to drywall, you will also need joint compound and tape for repairing any cracks or holes in the ceiling. Joint compound is used to fill in gaps and smooth out the surface, while tape is applied to reinforce the repairs and prevent future cracking.
Another important material to consider is paint. After the repairs are complete, it is essential to repaint the affected area to restore its appearance and protect it from further damage. Choose a paint that is specifically formulated for high-moisture areas, as this will provide added protection and durability.
Lastly, consider using a sealer or primer before applying the paint. A sealer or primer can help seal any remaining stains or odors and create a uniform surface for the paint to adhere to. This step is especially important if the ceiling has water stains or discoloration.
Remember to always follow the manufacturer’s instructions when choosing and using these materials for ceiling repair. Proper installation and application are key to ensuring a successful and long-lasting repair job. By selecting the right materials, you can effectively restore your ceiling and prevent future damage from roof leaks.
Proper techniques for repairing water stains on a ceiling
Water stains on a ceiling can be unsightly and may indicate more serious issues resulting from a roof leak. It is important to address these stains promptly to prevent further damage and restore the appearance of your ceiling. Here are some proper techniques to effectively repair water stains on a ceiling:
1. Identify the cause: Before repairing the water stains, it is crucial to determine and fix the source of the roof leak. Inspect the roof carefully for any damaged or missing shingles, cracked flashing, or clogged gutters. Once the underlying issue is resolved, it is safe to proceed with repairing the water stains on the ceiling.
2. Prepare the area: Begin by preparing the area surrounding the water stains. Move any furniture or belongings away from the affected area and cover the floor with a drop cloth or plastic sheeting to protect it from any potential debris or paint drips during the repair process. It is also advisable to wear protective goggles and a dust mask to safeguard yourself from dust and paint particles.
3. Clean the stains: Before applying any repairs, it is essential to clean the water stains thoroughly. Use a mild detergent mixed with warm water to gently scrub the stained area. Rinse the surface with clean water and allow it to dry completely. This step ensures a smooth and even application of the repair materials.
4. Apply stain-blocking primer: To prevent the water stains from bleeding through the fresh paint, it is necessary to apply a high-quality stain-blocking primer. Use a paintbrush or roller to evenly coat the stained area and extend it slightly beyond the borders of the water stains. Allow the primer to dry completely as per the manufacturer’s instructions.
5. Paint the ceiling: Once the stain-blocking primer has dried, you can proceed with painting the ceiling. Choose a paint color that matches the existing ceiling color, and use a paint roller or brush to apply the paint evenly. It is advisable to apply multiple thin coats, allowing each coat to dry before applying the next one. This ensures a seamless finish and better coverage of the water stains.
6. Finishing touches: After the paint has dried, inspect the repaired area for any imperfections. If necessary, lightly sand any rough patches or ridges with fine-grit sandpaper, and then apply a final coat of paint to blend in with the surrounding ceiling.
By following these proper techniques, you can effectively repair water stains on your ceiling and restore its appearance. Keep in mind that if the damage is extensive or you are unsure of your repair skills, it is always recommended to seek professional help to ensure a thorough and long-lasting fix.
Preventing future ceiling damage from roof leaks
To avoid further ceiling damage from roof leaks, it is important to take proactive measures to protect your home. Here are some effective steps you can take to prevent future roof leaks and subsequent ceiling damage:
1. Regular roof inspections: Schedule regular inspections by a professional roofing contractor to detect and address any potential issues before they escalate into major problems. Inspections should include checking for loose or missing shingles, damaged flashing, and clogged gutters or downspouts that can cause water to back up onto the roof.
2. Maintaining gutters and downspouts: Clean and inspect gutters and downspouts regularly to ensure they are free from debris that can cause clogs and prevent proper water drainage. Install gutter guards to prevent leaves and other debris from accumulating in the gutters. Ensure downspouts are directed away from the foundation of the house to prevent water from seeping into the basement.
3. Trim overhanging branches: Overhanging branches can damage your roof during storms and heavy winds. Regularly trim tree branches that are situated too close to your roof to minimize the risk of damage.
4. Promptly address roof repairs: If you notice any signs of roof damage such as cracked or missing shingles, deteriorated flashing, or loose roof tiles, have them repaired immediately. Ignoring small issues can lead to bigger and more expensive problems down the line.
5. Install and maintain proper attic insulation and ventilation: Proper insulation and ventilation in the attic are crucial for preventing roof leaks. Inadequate insulation can lead to ice dams forming on the roof during winter, causing water to seep into the attic and subsequently damaging the ceiling. Ensure that vents are clear of obstruction and install a continuous ridge vent and soffit vents for adequate airflow.
6. Consider a roof waterproofing treatment: Applying a roof waterproofing treatment can help protect your roof from water penetration and leaks. This can be especially beneficial for older roofs or roofs with a history of leaks.
By following these preventative measures, you can minimize the risk of future roof leaks and subsequently protect your ceiling from water damage. Remember, regular maintenance, inspections, and prompt repairs are key to keeping your roof in optimal condition and your ceiling safe from potential leaks.
People Also Ask
1. How do I identify and fix the source of a roof leak?
To identify the source of a roof leak, start by checking for visible signs of water damage or staining on the ceiling. Then, inspect the roof for missing or damaged shingles, cracked flashing, or clogged gutters. Once you identify the cause, repair the issue by replacing damaged materials or sealing any gaps or holes.
2. What steps should I take before repairing a ceiling damaged by a roof leak?
Prior to repairing a ceiling damaged by a roof leak, ensure that the source of the leak has been fixed and that the area is completely dry. Remove any wet or damaged materials, such as sagging drywall or insulation, and clean the area thoroughly to prevent mold or mildew growth. Then, assess the extent of the damage and determine the necessary repair method.
3. Can I repair a small ceiling stain caused by a roof leak myself?
Yes, you can repair a small ceiling stain caused by a roof leak yourself. Start by covering the stained area with a stain-blocking primer to prevent discoloration, then apply several coats of matching ceiling paint. If the stain is more severe or if the ceiling is damaged, you may need to replace the affected area of drywall or hire a professional for repairs.
4. What materials do I need for repairing a ceiling after a roof leak?
The materials you will need for repairing a ceiling after a roof leak depend on the extent of the damage. Generally, you may require a utility knife for removing damaged materials, drywall or plaster for patching, joint compound for smoothing the surface, sandpaper for finishing, and paint for a final touch-up. Safety gear such as goggles, gloves, and a dust mask are also recommended.
5. Can I claim insurance to cover the repairs for a ceiling damaged by a roof leak?
Whether or not you can claim insurance to cover the repairs for a ceiling damaged by a roof leak depends on your homeowner’s insurance policy and the specific circumstances. Typically, insurance may cover the cost of repairs if the leak resulted from a sudden or accidental event, such as a storm. It is advisable to review your policy and consult with your insurance provider to determine the coverage and necessary steps for making a claim.
Concluding Remarks
In conclusion, repairing a ceiling after a roof leak is essential to prevent further damage and maintain the structural integrity of your home. It is important to assess the extent of the damage before starting the repair process, as this will determine the necessary steps and materials needed.
Once the roof leak has been fixed and the affected area is dry, it is crucial to remove any damaged or sagging portions of the ceiling. This may require cutting away the affected area and replacing it with new drywall or plaster. Additionally, it is recommended to address any potential mold growth by thoroughly cleaning and treating the area with appropriate solutions.
After the damaged areas have been replaced, the ceiling can be retextured to match the rest of the ceiling. This can be achieved through various methods such as sanding, reapplying texture, or using techniques like stippling or popcorn texture. Finally, a fresh coat of paint should be applied to blend the repaired section seamlessly with the rest of the ceiling.
Remember, if you feel unsure about the repair process or if the damage is extensive, it is always best to consult a professional. They will have the expertise and experience to efficiently and effectively repair your ceiling after a roof leak, ensuring that your home remains safe and intact.
Don’t let a roof leak compromise the condition of your ceiling. Take the necessary steps to repair it promptly and protect your home from further damage.

Maintenance Programs Coordinator
Nathan Edwards is passionate about proactive roof maintenance programs designed to extend the lifespan of your roof. His commitment to preventing costly issues through regular upkeep sets him apart in the industry.