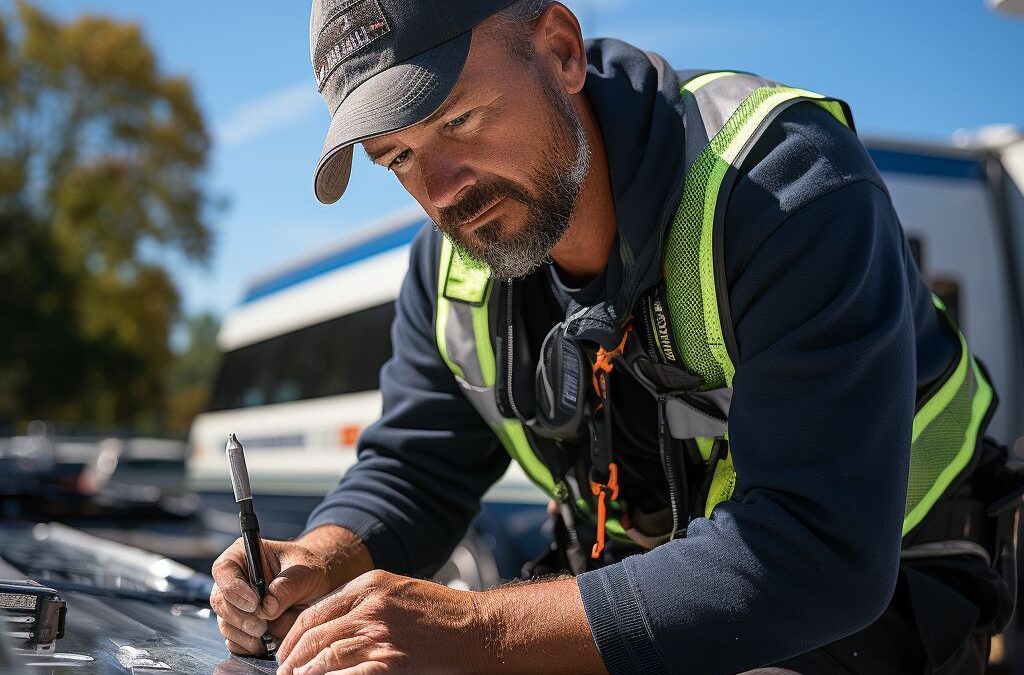
Whether you’re a seasoned RV enthusiast or a newbie to life-on-the-road, one thing is for certain: your motorhome’s rubber roof is its guardian against the harsh elements. But what happens when a tear occurs and threatens the integrity of this crucial layer? Fear not! In this article, we’ll guide you through the step-by-step process of repairing a tear on your RV rubber roof, ensuring that you can extend the lifespan of your vehicle and continue adventuring worry-free. So, grab your tools and let’s dive into this handy guide for a smooth, DIY roof repair that will have your motorhome looking and performing its best in no time!
Identifying the Tear on Your RV Rubber Roof
The first step in repairing a tear on your RV rubber roof is to accurately identify its location. This is crucial in order to ensure that the repair is done properly and effectively. When inspecting your roof, keep an eye out for any signs of damage such as discoloration, bubbling, or wrinkles that may indicate the presence of a tear.
To identify the tear on your RV rubber roof, you can start by thoroughly cleaning the roof surface to remove any dirt or debris that may be masking the damage. Use a mild detergent and a soft brush to gently scrub the roof, being careful not to apply too much pressure that might cause further damage.
Once the roof is clean, carefully inspect the entire surface, paying close attention to areas where tears commonly occur, such as around vents, skylights, or the edges of the roof. Look for any visible signs of a tear, such as a separation in the rubber material or a noticeable gap.
If you’re having trouble locating the tear, try running your hand over the surface of the roof, feeling for any irregularities or changes in texture. Sometimes a tear may be too small or subtle to see with the naked eye, but can still be detected by touch.
Remember to take your time during the inspection process and thoroughly examine every inch of your RV rubber roof. Identifying the tear accurately is crucial, as it will determine the next steps you need to take to repair it effectively.
Cleaning and Preparing the Area for Repair
Before you begin repairing the tear on your RV rubber roof, it is important to properly clean and prepare the area. This ensures that the repair materials adhere correctly and create a strong and long-lasting seal. The following steps will guide you through the process of .
First, start by thoroughly cleaning the area around the tear. Use a mild detergent or a rubber roof cleaner specifically designed for RVs. Apply the cleaner to the area and scrub gently with a soft-bristled brush or sponge. Rinse with water and allow the area to dry completely before proceeding.
Next, inspect the cleaned area for any loose or damaged sections of the rubber roof. If you come across any loose edges or raised seams, use a putty knife or scraper to carefully remove them. Be sure to remove any debris or adhesive residue left behind as well. This step is important to ensure a smooth and even surface for the repair.
Once the area is clean and free of loose materials, you can further prepare it by lightly sanding the surface. Use fine-grit sandpaper or a sanding block to roughen up the rubber roof slightly. This helps to create a better bond between the repair materials and the roof surface.
After sanding, make sure to clean the area again to remove any dust or debris. You can use a clean cloth or sponge dampened with water for this step. Allow the area to dry completely before proceeding with the repair.
Remember, proper cleaning and preparation of the area before repair is crucial to the success of your RV rubber roof repair. Taking the time to clean, remove loose materials, and lightly sand the surface ensures that the repair materials adhere properly, creating a strong and watertight seal.
Selecting the Right Materials for RV Rubber Roof Repair
is crucial in ensuring the longevity and effectiveness of the repair. It is important to use materials that are specifically designed for rubber roofs to guarantee a secure and watertight seal.
When searching for materials, look for a high-quality rubber roof patch kit that includes a sealant compatible with EPDM (ethylene propylene diene terpolymer) rubber roofs. EPDM is commonly used in RVs due to its durability and resistance to UV rays and weathering.
Another important material to consider is the adhesive. Look for a waterproof adhesive that is designed for bonding rubber materials. This will ensure that the patch adheres securely to the roof and prevents any water leakage.
In addition to the patch kit, you may also need some additional tools and materials such as a utility knife, a roller or brush for applying the sealant, and a cleaner specifically formulated for rubber roofs. These tools will help you properly prepare the area for repair and ensure a smooth and clean application of the patch.
Before purchasing any materials, always check the manufacturer’s recommendations and guidelines for the specific rubber roof repair. They may have specific product recommendations or application instructions that are essential for a successful repair.
Remember, using the right materials for RV rubber roof repair is crucial to achieving a secure and waterproof seal that will protect your RV from further damage. By investing in high-quality materials specifically designed for rubber roofs, you can be confident that your repair will effectively restore the integrity of your RV’s roof.
Step-by-Step Guide to Patching the Tear on Your RV Rubber Roof
Repairing a tear on your RV rubber roof can help extend its lifespan and prevent further damage to your vehicle. Follow these step-by-step instructions to patch the tear and ensure a secure and waterproof repair.
1. Prepare the area: Start by thoroughly cleaning the area surrounding the tear on your RV rubber roof. Use a mild soap and water solution to remove any dirt, debris, or mildew. Rinse the area with clean water and allow it to dry completely.
2. Measure and cut the patch: Once the area is clean and dry, measure the size of the tear on your RV rubber roof. Add an inch to each side of the tear to ensure proper coverage. Using a pair of sharp scissors or a utility knife, cut a patch from a rubber roof repair kit or a piece of EPDM roofing material that matches the color of your RV roof.
3. Apply adhesive: Apply a generous amount of rubber roof adhesive or sealant to both the patch and the area around the tear on your RV rubber roof. Use a putty knife or a trowel to spread the adhesive evenly. Be sure to cover the entire area to create a strong bond.
4. Position and press: Carefully position the patch over the tear on your RV rubber roof, ensuring that it extends beyond the tear on all sides. Press down firmly to make sure the patch adheres well to both the roof and the adhesive. Smooth out any wrinkles or air bubbles to create a flat, seamless repair.
5. Secure and seal: To ensure a secure and waterproof repair, use a seam roller to firmly press the patch into place. This will help create a strong bond between the patch and the RV rubber roof. Next, apply a layer of rubber roof sealant or coating over the entire repaired area, extending at least a few inches beyond the patch. This will provide additional protection against leaks and further damage.
Remember to follow the manufacturer’s instructions for the specific adhesive, patch, and sealant you are using, as application methods may vary. Additionally, it’s crucial to allow sufficient time for the repair to fully cure before exposing your RV to any wet or harsh weather conditions.
By following these step-by-step instructions, you’ll be able to patch the tear on your RV rubber roof effectively. Regularly inspecting and maintaining your roof will help prevent future tears, ensuring the longevity and reliability of your RV.
Ensuring a Secure and Waterproof Repair on Your RV Rubber Roof
It is crucial to ensure that your repair on the RV rubber roof is not only secure but also waterproof. This will help prevent any further damage and protect the interior of your RV from potential leaks. Here are some steps to help you achieve a secure and waterproof repair on your RV rubber roof.
Firstly, make sure you have properly cleaned and prepared the area for repair as outlined in the previous section. Any dirt, debris, or loose material can compromise the adhesive properties of the repair materials and hinder its effectiveness. A clean and dry surface is essential for a secure and waterproof repair.
Next, carefully select the appropriate materials for the repair. Look for high-quality RV roof sealants or adhesives specifically designed for use on rubber roofs. These products should be capable of adhering strongly to the rubber surface and maintaining flexibility to accommodate any movement or expansion of the roof.
Once you have the right materials, follow this step-by-step guide to patching the tear on your RV rubber roof:
1. Cut the repair patch according to the size and shape of the tear, allowing a generous overlap on all sides.
2. Apply a thin layer of the adhesive or sealant directly onto the damaged area, ensuring even coverage.
3. Place the repair patch over the adhesive, making sure it aligns properly with the tear.
4. Press down firmly on the patch to ensure good contact between the adhesive and the roof surface.
5. Smooth out any air bubbles or wrinkles, using a roller or your hands, making sure the patch is flush with the surrounding roof.
To further enhance the waterproofing of the repair, consider using a self-leveling sealant along the edges of the patch. This will create a seamless barrier against water penetration and provide added protection against leaks.
Finally, it’s important to perform regular maintenance on your RV rubber roof to prevent future tears. Inspect your roof regularly for any signs of wear or damage, and address any issues promptly. Additionally, clean the roof regularly to remove dirt, debris, and any potential contaminates that could weaken the roof’s integrity over time.
By following these steps and adopting a proactive approach to roof maintenance, you can ensure a secure and waterproof repair on your RV rubber roof, allowing you to enjoy your travels with peace of mind.
Regular Maintenance Tips to Prevent Future Tears on Your RV Rubber Roof
Regular maintenance is key to preventing future tears on your RV rubber roof. By following these simple tips, you can extend the lifespan of your roof and avoid costly repairs down the line.
Firstly, it is important to regularly inspect your RV rubber roof. Schedule a routine inspection at least twice a year, and more frequently if you frequently travel or park your RV under trees. Look out for any signs of damage, such as cracks, punctures, or loose seams. Pay special attention to areas around vents, air conditioners, and other roof protrusions, as these areas are more prone to leaks. Additionally, check for any debris or buildup of leaves and branches, which can cause moisture to accumulate and weaken the roof over time.
To maintain the integrity of your RV rubber roof, it is essential to clean it regularly. Remove any leaves, dirt, or other debris using a non-abrasive broom or brush. Avoid using harsh chemicals or abrasive cleaners, as they can damage the rubber membrane. Instead, use a mild detergent mixed with water to gently clean the roof’s surface. Rinse thoroughly and allow it to dry completely before moving on to the next step.
Taking proactive measures to protect your RV rubber roof is also crucial in preventing tears. Apply a UV protectant coating to shield the rubber membrane from the damaging effects of the sun’s rays. This will help prevent the rubber from drying out and becoming brittle over time. Additionally, consider installing vent covers or rain deflectors to minimize the chance of water pooling on your roof during rainy weather. These simple additions can go a long way in preserving the lifespan of your RV’s roof.
Remember that prevention is always better than a cure when it comes to maintaining your RV rubber roof. By regularly inspecting, cleaning, and protecting your roof, you can significantly reduce the risk of tears and extend its lifespan. Invest the time and effort in maintaining your RV’s roof, and you’ll save yourself from the hassle and expense of repairs in the future.
People Also Ask
1. How do I identify a tear on my RV rubber roof?
To identify a tear on your RV rubber roof, inspect the surface for any visible damage such as cuts, punctures, or holes. You may also notice water leakage or sagging areas on the roof.
2. What materials do I need to repair a tear on an RV rubber roof?
To repair a tear on an RV rubber roof, you will need a rubber roof patch kit, rubber roofing adhesive, a utility knife, and a roller or bristle brush for application.
3. Can I repair a tear on my RV rubber roof myself?
Yes, you can repair a tear on your RV rubber roof yourself. However, ensure you have the necessary tools and materials, and follow the instructions provided in the repair kit for best results.
4. How do I prepare the damaged area before repairing a tear on an RV rubber roof?
To prepare a damaged area, clean it thoroughly using a mild detergent and water solution. Remove any dirt, debris, or loose material from the surface, ensuring it is dry and free of contaminants before applying the patch.
5. Can I prevent future tears on my RV rubber roof?
To prevent future tears on your RV rubber roof, it is important to regularly inspect and maintain the roof. Keep it clean from debris, avoid walking on it unnecessarily, and trim overhanging tree branches to minimize the risk of damage. Additionally, consider using RV covers for added protection when the vehicle is not in use.
Conclusion
In conclusion, repairing a tear on an RV rubber roof is a necessary task to ensure the longevity and functionality of the roof. By following the steps mentioned above, including cleaning the area, applying the sealant, and allowing it to dry properly, you can effectively repair small tears on your RV rubber roof.
Remember to regularly inspect your RV roof for any signs of damage and address them promptly. By taking proactive measures, you can prevent minor tears from turning into major issues. Lastly, if the damage is severe or beyond your expertise, it is always recommended to seek professional assistance to properly repair your RV rubber roof.

Alexander Johnson is a seasoned roofing professional with over 25 years in the industry and CEO at Fresno Roof Repair. His expertise blends traditional craftsmanship with cutting-edge technology, focusing on resilient roofing solutions tailored to Fresno’s diverse climate. As a leader at Fresno Roof Repair, Alexander emphasizes open communication, teamwork, and continual education, ensuring every client receives exceptional service. Beyond his role, Alexander is deeply committed to the Fresno community, supporting local initiatives. His dedication, technical proficiency, and customer-centric approach make him an invaluable asset to Fresno Roof Repair, embodying the company’s commitment to excellence and quality roofing solutions.