A well-maintained roof is crucial for protecting our homes from the elements, and a flat roof leak?”>flat roof leak?”>flat roof?”>felt flat roof is a popular choice due to its affordability and durability. However, over time, wear and tear can cause issues such as leaks and cracks, compromising its effectiveness. If you find yourself faced with a repair job for your felt flat roof, fear not! In this article, we will provide you with comprehensive guidance on how to effectively repair your felt flat roof, ensuring its longevity and keeping your home safe and dry. Walk with us through the step-by-step process, as we equip you with important tips and tricks to tackle this task with confidence and success. Get ready to take control of your home’s protection and restore the integrity of your felt flat roof!
Inspecting the Roof for Damage
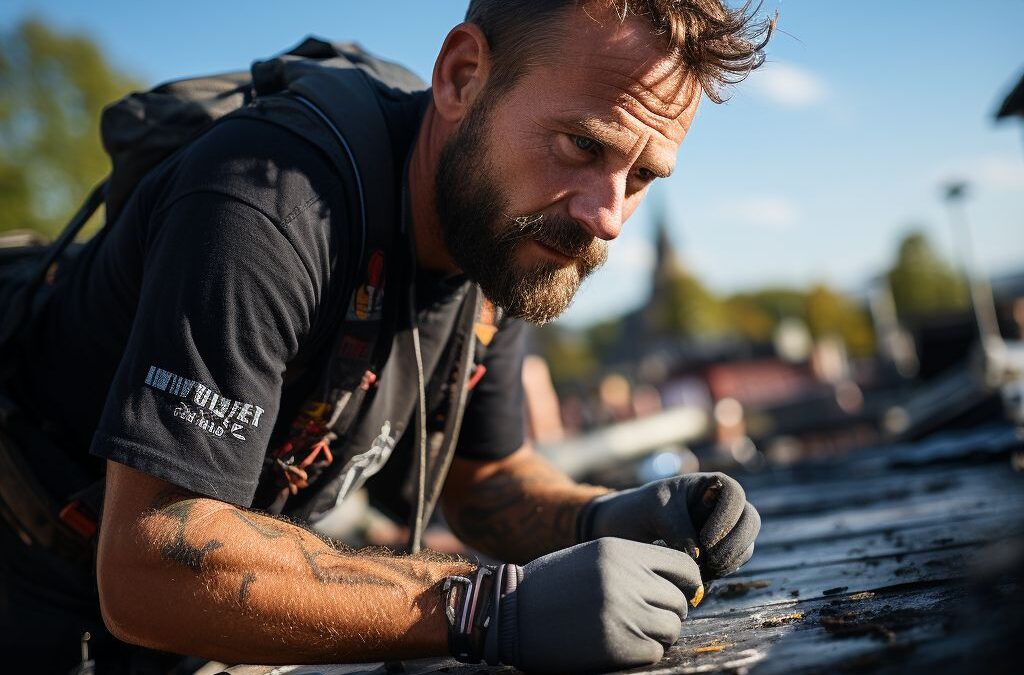
Before repairing a felt flat roof, it is essential to thoroughly inspect the roof for any signs of damage. This step is crucial as it will help you identify the extent of the repairs needed and determine the appropriate actions to take. By carefully inspecting the roof, you can catch any problems early on, preventing further damage and costly repairs down the line.
To begin the inspection process, start by looking for any visible signs of damage such as cracks, tears, or blistering in the felt surface. Pay close attention to areas where water might pond, as these are prone to damage. Inspect around chimneys, skylights, vents, and other roof penetrations as they are common areas for leaks. Look for loose or missing roofing materials, as well as any signs of wear and tear on the roof edge and corners.
In addition to a visual inspection, a thorough examination of the roof requires checking for signs of moisture and leaks. This can be done by looking for water stains or discoloration on the felt surface or the ceiling below. Pay attention to any bulges or sagging areas, as they could indicate underlying structural issues. It is also essential to inspect the roof from inside the attic or loft space, checking for signs of water damage, mold, or mildew.
To ensure a comprehensive inspection, it is recommended to hire a professional roofing contractor. They have the experience and expertise to identify any hidden or hard-to-spot issues that an untrained eye might miss. A professional inspection can also provide you with a detailed report outlining the scope of the repairs required, allowing you to prioritize and budget accordingly.
is the crucial first step in repairing a felt flat roof. By thoroughly examining the surface for any visible signs of damage, checking for leaks and moisture, and considering professional inspection, you can gather all the necessary information to proceed with the necessary repairs. Remember, proactive maintenance and regular inspections can help extend the lifespan of your felt flat roof and minimize costly repairs in the long run.
Identifying and Locating Leaks
on a felt flat roof is essential in order to effectively repair and prevent further damage. Leaks can lead to a myriad of issues such as water damage, mold growth, and structural deterioration. By carefully inspecting your roof and following a systematic approach, you can pinpoint the source of the leak and proceed with the necessary repairs.
Start by examining the interior of your building for any signs of water stains or discoloration on the ceiling. These discolorations often indicate the general vicinity of the leak. However, it is important to note that water can travel along the roof structure before appearing inside, so it is essential to thoroughly inspect the entire roof surface.
Next, move outside and carefully survey the felt flat roof. Look for any visible signs of damage such as cracks, splits, or puncture marks. These are common areas where leaks often occur. It is also important to inspect areas where the felt may have pulled away from the edges or where seams are present.
In addition to visual inspections, you can also use a hose to simulate rainfall and locate leaks more precisely. Start by wetting one section of the roof at a time and carefully observe for any areas where water penetration occurs. This method can help you identify smaller leaks that may not be immediately visible.
Once you have identified the general location of the leak, mark the area for easy reference during the repair process. Be sure to document any visible damage or suspected problem areas as this information will be helpful when preparing for the repairs.
By carefully inspecting your felt flat roof and locating the source of the leaks, you are taking a proactive approach towards its maintenance and repair. The next step is to clean and prepare the roof surface, which will create an optimal environment for effective repairs.
Cleaning and Preparing the Roof Surface
Before beginning any repairs on a felt flat roof, it is essential to thoroughly clean and prepare the surface. This will ensure that the repairs adhere properly and provide a long-lasting solution. Here are the steps to follow for .
First, remove any debris such as leaves, branches, or dirt that may have accumulated on the roof. This can be done using a broom or a leaf blower. Be careful not to use too much force, as you don’t want to damage the surface of the roof.
Next, inspect the roof for any signs of moss or algae growth. These can cause damage to the felt and contribute to leaks. If you notice any growth, it is important to remove it before proceeding with the repairs. Use a fungicidal wash or a mixture of water and bleach to kill the moss or algae. Apply it to the affected areas and let it sit for a specified time indicated on the product label. Then, use a stiff brush or a scrubber to gently scrub away the growth.
Once the roof is free from debris and any signs of moss or algae, it is time to clean the surface thoroughly. This can be done using a pressure washer or a hose with a high-pressure nozzle. Start from one end of the roof and work your way to the other, ensuring that the entire surface is thoroughly cleaned. Pay special attention to any areas that are heavily soiled or stained.
After cleaning, allow the roof to dry completely before moving on to the next steps of the repair process. This may take a few hours or even a full day, depending on the weather conditions. It is crucial to ensure that the surface is completely dry to ensure proper adhesion of the repair materials.
Remember, proper cleaning and preparation are vital for the success of any felt flat roof repair. By following these steps, you can ensure that the roof surface is ready for the next stage of the repair process. Taking the time to clean and prepare the surface will not only result in a more effective repair but also help extend the lifespan of the felt flat roof overall.
Repairing Small Cracks and Punctures
When it comes to repairing a felt flat roof, it’s important to address even the smallest cracks and punctures. These seemingly minor issues can quickly escalate into major leaks and cause extensive damage to your roof and the surrounding areas. In this section, we will discuss how to effectively repair small cracks and punctures to ensure the longevity and durability of your flat roof.
To begin the repair process, start by thoroughly cleaning the damaged area. Use a broom or brush to remove any loose debris, dirt, and dust. This will help create a clean surface for the repair materials to adhere to. Additionally, inspect the cracks and punctures closely to ensure there are no loose or damaged sections of felt. Trim away any loose or frayed edges to promote better adhesion.
Next, it’s time to apply a patch to the damaged area. For small cracks or punctures, a patch can effectively prevent further leaks and protect the integrity of your roof. Cut a piece of roofing felt?”>roofing felt?”>roofing felt slightly larger than the damaged area, ensuring it overlaps the edges by at least 2 inches. Apply a layer of bitumen adhesive to the damaged area, then press the patch firmly into place. Smooth out any wrinkles or air bubbles using a stiff brush or roller.
For added protection, it’s recommended to apply a layer of bitumen on top of the patch. This creates a waterproof barrier and further reinforces the repaired area. Carefully apply a generous amount of bitumen over the patch, spreading it evenly with a trowel or brush. Make sure to extend the bitumen at least 2 inches beyond the edges of the patch to seal it completely.
Remember, when , attention to detail is crucial. Taking the time to properly clean and prepare the damaged area, as well as applying an effective patch and sealant, will ensure a long-lasting and reliable repair. By addressing these small issues promptly, you can prevent further damage and extend the life of your felt flat roof.
Key Points:
– Thoroughly clean the damaged area before applying any patches or sealants.
– Cut a patch slightly larger than the damaged area and secure it with bitumen adhesive.
– Apply a layer of bitumen on top of the patch to create a waterproof barrier.
– Take the time to ensure a smooth and secure seal to prevent future leaks.
Sealing and Waterproofing the Roof
is a crucial step in repairing a felt flat roof. This process helps prevent future leaks and extends the lifespan of the roof. By creating a watertight barrier, you can ensure that your roof remains protected from the elements and any potential damage caused by water infiltration.
To begin the sealing and waterproofing process, it is important to properly clean the roof surface. Remove any debris, dirt, or loose material that may be present. This can be done using a broom or a brush, ensuring that the surface is free from any obstacles. By starting with a clean surface, you can improve the adhesion of the sealant and ensure a more effective repair.
Once the roof surface is clean, it is time to apply the sealant. There are various types of sealants available, including liquid-applied and sheet-applied options. The choice will depend on the specific needs of your felt flat roof. When applying the sealant, it is important to follow the manufacturer’s instructions carefully. This may involve using a brush or a roller to ensure even coverage and thickness. Additionally, pay attention to any recommended drying times or curing periods before proceeding to the next step.
After the sealing process, it is essential to check for any areas that may require additional attention. Use a keen eye to locate any missed spots or areas that may need touch-ups. This step helps ensure that all vulnerable areas are adequately protected and waterproofed. Take note of any cracks, punctures, or weak seams that may need to be addressed separately.
Remember, proper sealing and waterproofing of your felt flat roof is essential to its longevity and functionality. By carefully following the steps outlined above, you can effectively repair your roof and prevent further damage from occurring. Keep in mind that regular maintenance and inspections are key to catching any potential issues early on and addressing them promptly. Invest the time and effort into sealing and waterproofing your roof, and you can enjoy a dry and secure shelter for years to come.
Applying a Protective Coating
is an essential step in repairing a felt flat roof. This coating serves as an added layer of protection against leaks, UV rays, and weathering, ensuring the longevity of your roof. Here, we will guide you through the process of to your felt flat roof.
Before applying the protective coating, it is crucial to thoroughly clean and prepare the roof surface. Remove any debris or loose materials using a stiff broom or brush, and use a pressure washer to eliminate any stubborn dirt or grime. Once the roof is clean and dry, inspect it for any remaining damage or areas that may require special attention.
Next, it is time to seal any small cracks and punctures on the roof surface. Use a suitable sealant or roofing compound to fill in these areas, ensuring a watertight seal. Apply the sealant evenly and generously, using a putty knife or a specialized roofing brush. Smooth out the sealant to create a uniform surface, and allow it to dry completely before moving on to the next step.
Now, for the key step of applying the protective coating, you have several options to choose from, including acrylic coatings, bitumen-based coatings, or elastomeric coatings. These coatings are specifically designed for flat roof applications and provide excellent protection against elements such as rain, sun, and temperature fluctuations.
Start by stirring the coating thoroughly to ensure a consistent mixture. Then, using a brush or roller, apply a thin and even coat across the entire roof surface. Pay extra attention to the areas where leaks or previous damage were identified. Apply multiple coats as recommended by the manufacturer, typically two or three, allowing sufficient drying time between each coat.
To achieve optimal results and enhance the durability of the protective coating, it is recommended to reinforce the areas prone to high levels of foot traffic or potential damage, such as seams or corners. You can do this by embedding a fabric reinforcement into the wet coating and applying an additional layer of coating on top.
Remember, always follow the manufacturer’s instructions and safety guidelines when . Additionally, consider the specific requirements of your felt flat roof and choose a coating that matches your roof’s needs. With proper application and maintenance, a protective coating can significantly extend the lifespan of your felt flat roof, providing you with long-lasting protection and peace of mind.
People Also Ask
1. Can I repair a felt flat roof myself?
Yes, it is possible to repair a felt flat roof yourself if you have the necessary skills and tools. However, it is recommended to hire a professional to ensure proper and long-lasting repairs.
2. What materials do I need to repair a felt flat roof?
To repair a felt flat roof, you will need a utility knife, roofing adhesive, a paintbrush, a roller, roofing felt, and a blowtorch (if torch-on felt is being used).
3. How do I locate the source of a leak in a felt flat roof?
To locate the source of a leak in a felt flat roof, start by examining the roof for any visible damage or cracks. Additionally, you can use a hose to simulate rain and carefully observe any areas where water is entering the roof.
4. Can I patch a small hole in the roof?”>small hole in the roof?”>small hole or tear in a felt flat roof?
Yes, small holes or tears in a felt flat roof can be patched using roofing adhesive and a piece of roofing felt. Clean the area, apply the adhesive, and place the patch over the hole or tear, ensuring it is securely bonded.
5. Is it necessary to remove the existing felt before repairing a flat roof?
In some cases, it may be necessary to remove the existing felt before repairing a flat roof. This depends on the extent of the damage and the condition of the existing felt. If the felt is severely deteriorated or if the damage is extensive, it is recommended to remove and replace the felt.
Final Thoughts
In conclusion, repairing a felt flat roof requires careful assessment and preparation before beginning the actual repair process. It is important to identify the extent and nature of the damage, whether it is a minor leak or a more significant issue such as blistering or cracking.
After identifying the problem areas, the roof surface should be thoroughly cleaned and any loose debris or damaged material should be removed. It is important to ensure that the roof is dry and free from moisture before proceeding with any repairs.
Repairing a felt flat roof typically involves the application of a suitable roofing compound or adhesive, along with reinforcement of the damaged area using additional layers of felt or fabric. It is crucial to follow manufacturer’s instructions and guidelines when applying these materials to ensure a proper repair.
Regular maintenance and inspection of the flat roof can help identify any potential issues before they escalate into larger problems. This can include checking for any signs of damage or deterioration, keeping gutters clear of debris, and ensuring adequate drainage.
Overall, repairing a felt flat roof can be a manageable task when approached with proper knowledge and careful execution. By addressing any issues promptly and taking necessary preventive measures, homeowners can ensure the longevity and effectiveness of their flat roof.
Remember, always consult with a professional roofing contractor if you are unsure or uncomfortable with performing the repairs yourself. They have the expertise and experience to provide sound advice and assistance throughout the process.

Emergency Services Manager
Andrew Foster, a seasoned roofing professional, specializes in storm damage repairs and emergency services. His swift response and effective solutions help clients safeguard their properties during challenging times.