Are you ready to bring warmth and cozy ambiance into your home with a wood stove? As the chill of winter settles in, there’s nothing quite like the crackling of logs and the comforting heat emitted by a well-functioning wood stove. In order to ensure your wood stove operates safely and efficiently, proper chimney installation is crucial. Today, we will guide you through the steps of installing a wood stove chimney through the roof, empowering you to enjoy the benefits of a toasty fire without the worry of hazardous fumes or heat loss. So, if you’re ready to embark on this DIY project and learn the ins and outs of wood stove chimney installation, read on. By the end of this article, you’ll be equipped with the knowledge and confidence to tackle this endeavor, ensuring your home stays warm and cozy all winter long.
Important considerations before installing a wood stove chimney through the roof
Installing a wood stove chimney through the roof requires careful consideration and planning to ensure a safe and effective installation. Before you begin the installation process, there are several important factors to take into account.
First and foremost, it is crucial to check local building codes and regulations regarding wood stove installations. These regulations vary depending on your location, and it’s important to comply with them to ensure the safety and legality of your installation.
Next, you’ll need to assess the condition and suitability of your roof. Consider the type of roof you have and its ability to withstand the weight and heat produced by a wood stove. It’s recommended to consult with a professional roofer to assess the structural integrity of your roof and determine if any reinforcements or modifications are necessary.
Additionally, you’ll need to evaluate the proximity of combustible materials to the chimney. The National Fire Protection Association (NFPA) recommends maintaining a minimum clearance distance between the chimney and any combustible materials, such as walls, ceilings, and rooflines. This distance typically ranges from 1 to 3 feet, depending on the type of material and local building codes.
Another important consideration is the height and location of the chimney above the roofline. The chimney should extend at least 2 feet above the highest point where it passes through the roof to ensure proper draft and combustion. It’s also important to position the chimney away from any obstructions, such as trees or nearby buildings, to prevent the risk of fire or smoke damage.
Lastly, don’t forget to take into account the size and height of your wood stove. The stove should be appropriately sized for the space it will be heating, and it’s essential to have adequate clearance between the stove and any combustible materials. Consult the manufacturer’s guidelines for specific clearance requirements.
By carefully considering these important factors before installing a wood stove chimney through the roof, you can ensure a safe and efficient installation that will provide warmth and comfort for years to come.
Choosing the right location for your wood stove chimney through the roof
When , there are several important factors to consider. The placement of the chimney will not only impact the efficiency and functionality of your wood stove, but also the safety of your home.
Firstly, it is crucial to ensure that the wood stove chimney is located at least 3 feet higher than any roof structure within a 10-foot radius. This helps to prevent the risk of combustible materials coming into contact with the hot chimney and causing a fire. Additionally, it is important to keep the chimney clear from any overhanging branches or nearby structures that could pose a fire hazard.
Furthermore, the location of the chimney should be carefully planned to ensure efficient heat distribution throughout the living space. Ideally, the chimney should be positioned in the center of the house or in a central area where warmth can easily radiate to all rooms. This will help to maximize the heating capabilities of your wood stove and minimize heat loss.
Another consideration is the proximity to combustible materials. The wood stove chimney should be installed at least 18 inches away from any combustible surfaces such as walls or ceilings. This distance can be reduced by using appropriate insulation and heat shielding materials to protect the surrounding areas from excessive heat. It is recommended to consult local building codes and regulations to ensure compliance with safety standards.
Additionally, it is important to consider the structural integrity of the roof when choosing the location for the chimney. The roof should be strong enough to support the weight of the chimney and withstand any potential movements or vibrations. It is advisable to seek professional advice from a qualified contractor or engineer to assess the roof’s suitability and provide guidance on any necessary reinforcements.
In conclusion, selecting the right location for your wood stove chimney through the roof is a crucial step in ensuring the safety and efficiency of your wood stove. Considerations such as clearance from combustible materials, heat distribution, and structural integrity should be taken into account to achieve optimal performance and comply with safety regulations.
Calculating the necessary dimensions and materials for installing a wood stove chimney through the roof
.
Before you begin installing a wood stove chimney through the roof, it is essential to accurately calculate the dimensions and gather the necessary materials. This step is crucial for ensuring the safe and efficient operation of your wood stove and chimney system.
To start, you will need to measure the distance from the stove to the roof, taking into account any obstructions such as ceilings, floors, or attic spaces. This measurement will determine the length of chimney pipe needed for your installation. Additionally, consider the pitch of your roof, as steeper roofs may require additional lengths of chimney pipe to adequately clear the roofline.
When it comes to choosing the right materials for your wood stove chimney installation, it is imperative to select chimney pipe and components that are specifically designed for wood stove use. Look for chimney pipe that is made from durable stainless steel or similar materials, as they are resistant to high temperatures and corrosive byproducts of wood combustion.
In addition to the chimney pipe, you will also need a chimney cap to protect against weather and wildlife intrusion, spark arrestor, roof flashing, and roof support brackets to secure the chimney to the roof and ensure stability. It is crucial to research and choose high-quality materials from reputable manufacturers to ensure the longevity and safety of your wood stove chimney system.
Remember, each installation may have specific requirements and regulations that you must comply with. Consult local building codes, fire safety regulations, and manufacturer guidelines to ensure that you are adhering to all necessary standards.
Key considerations:
- Measure the distance from the stove to the roof, considering any obstructions.
- Consider the pitch of your roof and determine the length of chimney pipe needed.
- Choose chimney pipe and components specifically designed for wood stove use.
- Ensure the materials are made from durable and heat-resistant materials such as stainless steel.
- Research and comply with local building codes, fire safety regulations, and manufacturer guidelines.
By taking the time to accurately calculate dimensions and select appropriate materials, you will be well on your way to successfully installing a wood stove chimney through the roof. This careful approach will not only ensure the efficiency and effectiveness of your wood stove but also promote the safety and longevity of your chimney system.
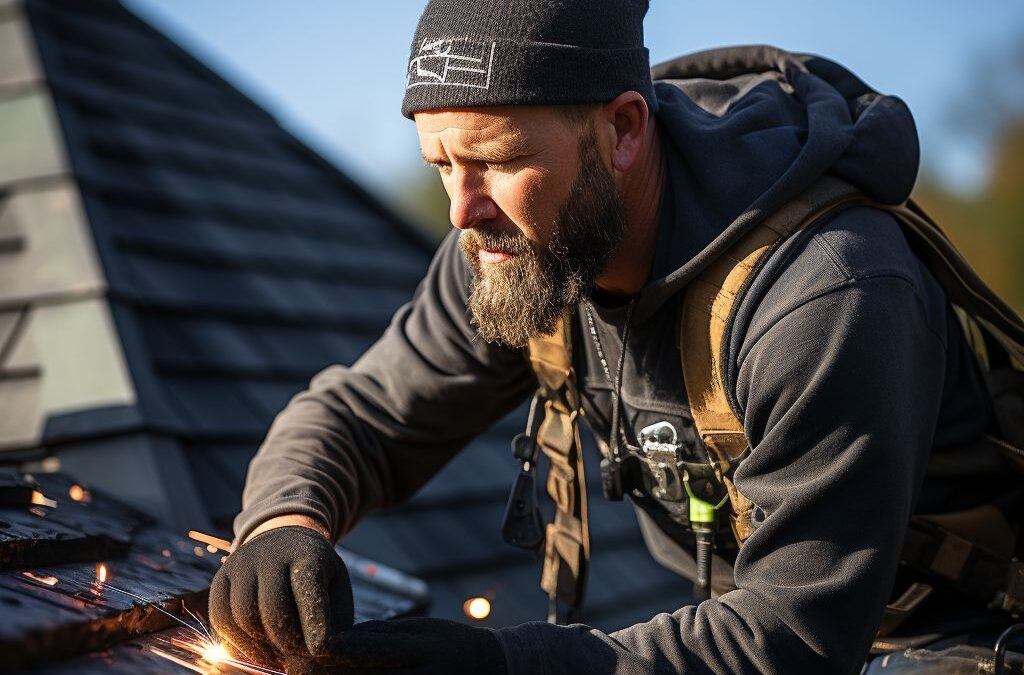
Step-by-step guide to installing a wood stove chimney through the roof
Installing a wood stove chimney through the roof requires careful planning and execution to ensure a safe and efficient operation. Here is a step-by-step guide to help you navigate through the process:
1. Determine the ideal location: Before starting the installation, you need to choose the best position for your wood stove chimney. The location should provide sufficient clearance from combustible materials, both inside and outside the house. Additionally, it should allow for a straight and direct path from the stove to the roof.
2. Measure and calculate dimensions: Accurate measurements are crucial for a successful installation. Measure the distance from the wood stove to the roof and determine the necessary pipe length. Consider the roof pitch and calculate the required roof flashing angle to ensure proper sealing.
3. Gather the necessary materials: Once you have the measurements, gather all the materials needed for installation. This typically includes a chimney pipe, elbows, support brackets, flashing, storm collar, chimney cap, high-temperature sealant, and necessary tools like a drill, screws, and tape measure.
4. Prepare the roof and ceiling: Begin by marking the location where the chimney will penetrate through the roof. Cut a hole in the roof and remove any roofing materials or insulation in the designated area. Create a larger hole in the ceiling to accommodate the chimney pipe.
5. Install the chimney pipe: Begin by attaching the chimney pipe to the wood stove. Secure the pipe with support brackets, following the manufacturer’s instructions. Assemble the chimney pipe sections, using locking bands or screws to ensure a tight fit. Insert the pipe through the roof hole while maintaining the necessary clearance. Secure it in place with support brackets and make sure it is centered in the hole.
6. Seal and insulate: It is essential to properly seal and insulate the chimney to prevent any leaks or heat loss. Apply high-temperature sealant around the roof flashing to create a watertight seal. Install a storm collar just above the flashing to further protect against water intrusion. Insulate around the chimney pipe, using appropriate insulation materials, to ensure heat is contained within the pipe.
7. Finishing touches: Complete the installation by installing a chimney cap on top of the chimney pipe. A chimney cap helps prevent debris, animals, and rain from entering the chimney while also acting as a spark arrestor. Check all connections and seals to ensure everything is secure and tight.
Remember, it is always recommended to consult with a professional or refer to the manufacturer’s instructions during the installation process. Following these steps will help ensure a successful installation of your wood stove chimney through the roof, providing you with a safe and cozy heating solution for your home.
Insulating and securing a wood stove chimney through the roof
is a crucial step in the installation process to ensure safe and efficient operation of your wood stove. Proper insulation and securing techniques will help prevent heat loss, reduce the risk of structural damage, and protect against potential fire hazards. Here’s what you need to know about insulating and securing your wood stove chimney through the roof.
When it comes to insulation, it’s important to use materials that are specifically designed for chimney installations. Insulation helps to keep the heat inside the chimney and prevents it from radiating into the surrounding roof structure. This can help reduce the risk of condensation, which can lead to moisture damage over time. Insulation can also create a barrier to prevent the chimney from coming into contact with combustible materials.
One popular option for insulating a wood stove chimney through the roof is using a chimney insulation blanket. These blankets are made from high-temperature materials and are designed to wrap around the chimney pipe. They help to reduce heat transfer and keep the heat inside the chimney, improving the efficiency of your wood stove. Make sure to choose a blanket that is the appropriate size for your chimney pipe diameter and follow the manufacturer’s installation instructions.
In addition to insulation, securing the wood stove chimney is essential to prevent it from shifting or becoming unstable. The chimney should be securely fastened to the roof structure using brackets, supports, or braces. These components should be made of a durable material, such as stainless steel, that can withstand the high temperatures produced by the wood stove. Follow the manufacturer’s instructions for properly securing the chimney and ensure that it is securely attached to the roof rafters or trusses.
To further enhance the stability and safety of the wood stove chimney, consider using a chimney support system. These systems typically consist of a roof bracket, support band, and collar, which provide additional support and stability to the chimney. Make sure to choose a support system that is compatible with your chimney pipe diameter and meets local building codes.
When , it’s important to follow local building codes and regulations. These codes may specify requirements for insulation materials, clearances, and installation practices. Consulting a professional or local authorities can provide guidance and ensure that your chimney installation meets all necessary standards for safety and efficiency.
In conclusion, proper insulation and securing techniques are crucial for a safe and efficient wood stove chimney installation through the roof. Using high-temperature insulation materials, securing the chimney to the roof structure, and following local building codes will help protect against heat loss, structural damage, and potential fire hazards. By taking the time to insulate and secure your wood stove chimney, you can enjoy the warmth and beauty of a wood stove while ensuring the safety of your home.
Maintaining and troubleshooting your wood stove chimney through the roof
Proper maintenance of your wood stove chimney through the roof is crucial to ensure its efficiency and safety. Regular maintenance will not only keep your chimney functioning optimally but also prevent potential hazards such as chimney fires or carbon monoxide leaks. Additionally, knowing how to troubleshoot common issues can save you time and money in the long run.
One important aspect of maintaining your wood stove chimney through the roof is regularly cleaning it. Over time, creosote and other debris can accumulate inside the chimney, which can obstruct the airflow and increase the risk of a chimney fire. It is recommended to have your chimney professionally cleaned at least once a year, especially if you use your wood stove frequently. A professional chimney sweep will thoroughly remove any creosote buildup and inspect the chimney for any defects or damages.
Another important maintenance task is inspecting the chimney for any signs of damage or wear. Regularly check for cracks, loose or missing mortar, damaged flashing, or deteriorating chimney caps. Any of these issues can compromise the structural integrity of your chimney and may require immediate repairs. It is also a good idea to inspect the interior of the chimney for any signs of creosote buildup or flue blockages. Using a flashlight, check for any obstructions or unusual residue. If you notice any issues, it is best to address them promptly to prevent further damage.
In addition to maintenance, knowing how to troubleshoot common issues with your wood stove chimney through the roof is essential. One common problem is downdraft, which occurs when the wind blows down the chimney and causes smoke to enter your home instead of being drawn up and out. To resolve this issue, consider installing a chimney cap with a wind directional vent or an anti-downdraft chimney cowl. These devices can help redirect the airflow and prevent downdrafts.
Another issue homeowners often face is a chimney blockage caused by animal nests or debris. If you suspect a blockage, it is crucial to address it promptly as it can lead to carbon monoxide buildup or chimney fires. Installing a chimney cap with a mesh screen can help prevent animals from entering and nesting in your chimney. If there is a blockage, it is best to contact a professional chimney sweep who has the expertise and equipment to safely remove it.
By regularly maintaining your wood stove chimney through the roof and being aware of common troubleshooting techniques, you can enjoy the warmth and comfort of your wood stove while ensuring the safety of your home and family. Remember, if you ever encounter a problem that you are unsure how to handle, it is always best to seek professional assistance to avoid any potential risks or damages.
People Also Ask
1. Can a wood stove be vented through the roof?
Yes, a wood stove can be vented through the roof by installing a chimney pipe that extends vertically through the roof and above it. This allows the smoke and gases to safely exit the house.
2. What is the required clearance for a wood stove chimney through the roof?
The clearance required for a wood stove chimney through the roof depends on the type of chimney pipe and the local building codes. Generally, a minimum clearance of 2 inches is recommended between the chimney pipe and any combustible materials.
3. Do I need a chimney cap for a wood stove chimney through the roof?
It is highly recommended to install a chimney cap on the wood stove chimney through the roof. A chimney cap helps prevent water, debris, and animals from entering the chimney, which can cause damage or blockages and affect the stove’s performance.
4. How do I flash a wood stove chimney through the roof?
To flash a wood stove chimney through the roof, you need to install a flashing, which is a metal sheet that seals the gap between the chimney pipe and the roof. The flashing should be installed with a weather-resistant barrier and properly sealed to prevent leaks.
5. Can I install a wood stove chimney through a metal roof?
Yes, a wood stove chimney can be installed through a metal roof. It requires using appropriate flashing designed for metal roofs and ensuring proper sealing to prevent leaks. It is recommended to consult a professional installer or roofer experienced with metal roofs for guidance.
In Conclusion
To conclude, installing a wood stove chimney through the roof is a complex task that requires careful planning and attention to detail. By following the steps outlined above, you can ensure that your wood stove functions safely and efficiently. Remember to research local building codes and regulations before starting the installation process.
If you have any doubts or concerns about installing a wood stove chimney through the roof, it is always recommended to consult a professional chimney installer or a licensed contractor. They can provide expert advice and guidance tailored to your specific needs.
By taking the necessary precautions and following the correct procedures, you can enjoy the warmth and comfort of a wood-burning stove while ensuring the safety of your home and loved ones. Stay warm and cozy this winter!

Innovation and Technology Director
William Simmons is dedicated to bridging the gap between innovative roofing technologies and traditional craftsmanship. His focus on blending modern techniques with reliable practices ensures optimal results for our clients.