Is your roof starting to show signs of wear and tear? Are there shingles that have been damaged due to weather or age? A damaged roof not only compromises the aesthetic appeal of your home but also puts its structural integrity at risk. If you’re dealing with damaged roof shingles, fear not! With proper guidance and a little bit of elbow grease, you can easily replace them and restore the beauty and functionality of your roof. In this article, we will walk you through a step-by-step process on how to replace damaged roof shingles, ensuring that your roof remains sturdy, secure, and ready to withstand the elements for years to come. So, let’s roll up our sleeves and get ready to turn your roofing woes into a thing of the past!
Identifying damaged roof shingles
Damaged roof shingles can lead to leaks and further structural issues if not addressed promptly. It is important to regularly inspect your roof for any signs of damage to ensure its longevity and durability. Here are some key indicators to help you identify damaged roof shingles:
1. Missing Shingles: One of the most obvious signs of damage is missing shingles. This can be caused by strong winds, storms, or other external factors. Inspect your roof carefully to see if any shingles are completely absent.
2. Curling or Buckling Shingles: Over time, shingles can start to curl or buckle due to aging or exposure to extreme weather conditions. This can create gaps and allow water to penetrate your roof. Look for shingles that appear warped or raised in certain areas.
3. Cracked or Broken Shingles: Shingles that are cracked or broken can compromise the integrity of your roof and should be replaced as soon as possible. Inspect your roof for any visible cracks, splits, or breaks in the shingles.
4. Granule Loss: Shingles usually have a layer of granules that protect them from harmful UV rays and provide durability. If you notice excessive granule loss in your gutters or around the base of your downspouts, it could be an indication of damaged shingles.
5. Algae or Moss Growth: While not directly causing damage to your shingles, the presence of algae or moss can indicate a damp environment that can accelerate shingle deterioration. If you notice any green patches or growth on your roof, it is best to consult a professional.
Regularly inspecting your roof for these signs of damage can help you identify and address any issues before they escalate. Remember, prompt action is crucial to prevent further damage and maintain the longevity of your roof.
Gathering the necessary tools and materials
:
Before you begin replacing damaged roof shingles, it’s important to gather all the tools and materials you’ll need to ensure a smooth and efficient process. Having everything on hand ahead of time will save you from unnecessary trips up and down the ladder.
To get started, you will need a sturdy ladder that is tall enough to safely reach the damaged area of your roof. Make sure the ladder is in good condition and placed on a flat and stable surface. Safety should always be a priority when working at heights, so consider using a ladder stabilizer or having someone help stabilize the ladder while you work.
Next, gather the following tools:
1. Safety glasses and gloves to protect your eyes and hands from debris and roofing materials.
2. A pry bar or roofing shovel to carefully remove the damaged shingles without causing any additional damage to the surrounding area.
3. Roofing nails or roofing adhesive, depending on the type of shingles you are using for replacement.
4. A hammer or nail gun for securing the new shingles in place.
5. A utility knife for cutting any necessary materials.
6. A caulking gun and roofing sealant to ensure a watertight seal around the new shingles.
7. A measuring tape to ensure accurate placement and sizing of the replacement shingles.
In addition to these tools, make sure you have the necessary materials for the job. This may include replacement shingles that match your existing roof, underlayment if needed, and any flashing or drip edge materials that may need to be replaced.
Being prepared with all the necessary tools and materials will ensure a smoother and more efficient repair process. It’s always a good idea to double-check your list before heading up to the roof, as having everything readily available will make the job much easier and safer.
Removing the damaged shingles safely and efficiently
involves careful execution to minimize further damage or injury. Taking the necessary precautions and using the correct techniques will ensure a smooth and successful shingle replacement process.
When removing damaged shingles, it is essential to work from the bottom up. Start by lifting the shingle above the damaged one using a pry bar or a shingle remover tool. Insert the tool underneath the shingle and gently pry it up. Be careful not to apply excessive force to avoid breaking nearby shingles.
Once the damaged shingle is lifted, use a hammer to remove any nails holding it in place. Carefully slide the shingle out, taking note of how it interlocks with the surrounding shingles. This will be helpful when installing the new shingles later on. Use caution to avoid damaging neighboring shingles during this process.
Inspecting for Hidden Damage
Before proceeding with installing the new shingles, it is crucial to inspect the roof deck for any signs of hidden damage. Look for signs of water penetration, rot, or mold. If any issues are found, it is best to address them before installing the new shingles to ensure a fully repaired and durable roof.
Disposing of Damaged Shingles
Properly disposing of the damaged shingles is an important step in the process. Place them in a sturdy trash bag or container to prevent sharp edges from causing injury. Consider contacting a professional waste disposal service if you have a large amount of shingle debris. They will ensure the shingles are disposed of safely and in accordance with local regulations.
By following these steps of removing damaged shingles safely and efficiently, you can successfully prepare your roof for the installation of new shingles. Remember to take your time and exercise caution throughout the process to minimize any potential risks or further damage.
Preparing the surface for replacement shingles
Before installing new shingles on your damaged roof, it is crucial to properly prepare the surface to ensure a smooth and secure installation. This step is essential to prevent any further damage and to maximize the longevity of your roof repair. Here are some important factors to consider when .
First and foremost, you’ll want to thoroughly clean the area where the damaged shingles were removed. Use a stiff bristle brush or a broom to remove any loose debris, dirt, or moss that may have accumulated on the roof. It’s important to have a clean and smooth surface to ensure proper adhesion of the new shingles. Additionally, removing debris will help prevent any potential water damage in the future.
Next, inspect the surface for any signs of damage or deterioration. Check for any rotting or soft spots, as these areas may require additional repairs or reinforcement. If you come across any damaged wood or structural issues, it’s best to consult a professional roofer who can assess the situation and recommend the appropriate course of action.
Once the surface is clean and inspected, it’s time to prepare the flashing and underlayment. Flashing is used to protect areas where the roof meets other structures such as chimneys or vents. Inspect the flashing for any signs of damage, such as cracks or gaps. If necessary, replace or repair any damaged flashing before proceeding. Underlayment, on the other hand, acts as an additional layer of protection against water infiltration. Ensure that the underlayment is in good condition and properly installed.
To further prepare the surface, consider applying a primer or adhesive to promote better adhesion between the existing roof and the new shingles. This is especially important if you are installing architectural or laminated shingles. Follow the manufacturer’s guidelines when selecting and applying the primer or adhesive, as different products may require specific application methods.
By taking the time to properly prepare the surface for replacement shingles, you can ensure a sturdy and long-lasting repair. Remember to be meticulous in your cleaning and inspection process and address any underlying issues before proceeding with the installation. Taking these necessary steps will ensure a successful roof repair and protect your home from future damage.
Installing the new shingles correctly and securely
Proper installation of new roof shingles is crucial to ensure a strong and durable roof. By following the right steps and using the correct techniques, you can have peace of mind knowing that your roof will withstand the elements and protect your home for years to come.
First, start by carefully aligning and positioning the new shingle in place. Make sure it overlaps the existing row of shingles to maintain a watertight seal. Use a nail gun or roofing nails to secure the shingle in place, ensuring that it is affixed firmly to the roof deck. Be careful not to hammer the nails too hard, as this can damage the shingle or the roof deck.
Next, continue installing the new shingles in a staggered pattern, following the manufacturer’s instructions. This will help prevent water from seeping underneath the shingles and causing leaks. Pay attention to the alignment and spacing between each shingle to maintain a uniform appearance and proper functionality.
To further enhance the security and durability of your new shingles, consider applying roofing cement or adhesive underneath each shingle. This will help create an extra layer of protection and prevent them from lifting or becoming loose during strong winds or storms.
Additionally, it is essential to seal any gaps or exposed areas around the edges of the newly installed shingles. Use roofing cement or an appropriate sealant to ensure a tight and weatherproof fit. This step will further safeguard your roof from potential leaks and water damage.
Remember that proper roofing installation requires precision and attention to detail. If you are unsure of your abilities or lack the necessary experience, it is highly recommended to consult a professional roofer for assistance. They have the expertise and tools to ensure that the new shingles are installed correctly, giving you peace of mind and a properly functioning roof.
By following these steps and using the right techniques, you can successfully install new roof shingles that will protect your home for years to come. Don’t rush the process and prioritize quality over speed. With careful installation, your roof will be strong, secure, and able to withstand the harshest weather conditions.
Maintaining the repaired roof for long-term durability and performance
Proper maintenance is key to ensuring that your repaired roof remains in good condition for years to come. By following some simple steps, you can maximize the durability and performance of your roof shingles.
Regular Inspection: Perform routine inspections of your roof at least once a year. Look for any signs of damage, such as missing shingles, cracks, or loose nails. By catching these issues early on, you can address them before they become bigger problems.
Cleaning: Keep your roof clean by removing any debris, such as leaves or branches, that may accumulate over time. This is especially important in areas with heavy foliage or during seasons with high winds. Use a broom or a leaf blower to clear away any build-up, making sure not to damage the shingles in the process.
Trimming Trees: Overhanging trees can pose a threat to your roof. Branches that touch or rub against your shingles can cause damage over time. Additionally, falling branches can puncture or dislodge shingles. Regularly trim back any branches that are too close to your roof to prevent potential damage.
Addressing Moss or Algae: Moss and algae can be common issues on roofs, especially in damp or shaded areas. Not only can they detract from the appearance of your roof, but they can also damage the shingles. Use a moss or algae remover specifically designed for roofs, following the manufacturer’s instructions carefully. Avoid using pressure washers, as they can cause further damage to the shingles.
Hiring Professional Inspections: While regular inspections are essential, it is also wise to consider hiring a professional roofing contractor for a comprehensive inspection every few years. They have the expertise to identify any hidden issues that may not be immediately evident. Additionally, a professional inspection can help identify and address any potential sources of leaks or other problems before they lead to significant damage.
By following these maintenance tips, you can extend the lifespan of your repaired roof and ensure it continues to protect your home for the long term. Remember to address any issues promptly and to consult with a professional if you are uncertain about any repairs or maintenance tasks. With proper care, your roof will remain a reliable barrier against the elements for years to come.
People Also Ask
1. How do you know if you have damaged roof shingles?
Some signs of damaged roof shingles include visible cracks, missing shingles, curling or buckling, and water leaks inside the house. A thorough inspection by a professional can help determine the extent of the damage.
2. Can I replace a few damaged shingles myself?
Yes, you can replace a few damaged shingles yourself if you have the necessary skills and tools. However, it’s important to prioritize safety and follow proper installation techniques to ensure the new shingles fit securely and protect your roof.
3. Do I need to remove the entire damaged shingle before replacing it?
No, you don’t necessarily need to remove the entire damaged shingle. If only a portion is damaged, carefully lift the shingle above it and remove the damaged area, then slide or nail a new shingle in its place.
4. Do I need to match the shingles exactly when replacing them?
While it is ideal to match the existing shingles as closely as possible for aesthetic purposes, an exact match may not always be available. If the style or color is discontinued, you can choose a similar shingle that complements your roof.
5. Should I hire a professional to replace damaged roof shingles?
Hiring a professional is recommended, especially if you lack experience or the damage is extensive. A professional roofer can ensure that the replacement shingles are properly installed and address any underlying issues, providing long-term protection for your roof.
Concluding Remarks
In conclusion, replacing damaged roof shingles can be a straightforward task that can help protect your home from further damage. By following the steps outlined in this guide, you can confidently tackle this project on your own. Remember to always prioritize safety, use proper tools and materials, and consult with a professional if you feel unsure or encounter any difficulties.
By maintaining a well-functioning roof, you can prolong its lifespan and avoid potential leaks or water damage. Regular inspections and prompt repairs are essential to ensuring the integrity of your roof and the overall safety of your home. So, don’t hesitate to address any damaged shingles as soon as they are identified.
Take the necessary steps to protect your investment and maintain the structural integrity of your roof. With the previously provided instructions, you are now equipped with the knowledge to replace damaged roof shingles. Stay proactive in your roof maintenance, and you will ensure a dry and secure home for years to come.

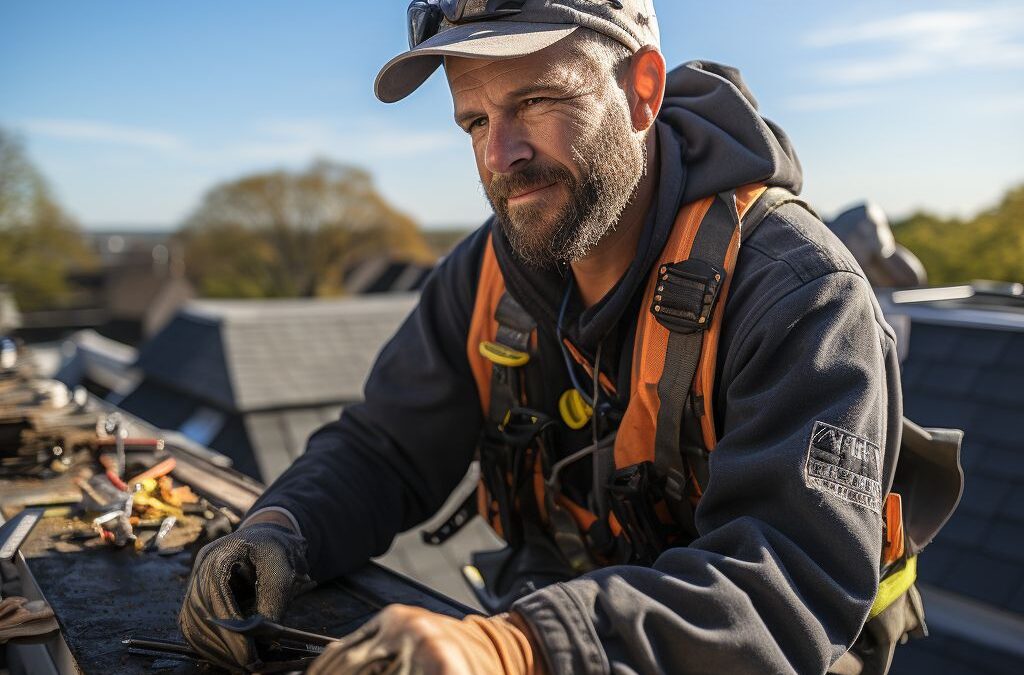
Lead Roofing Specialist
Michael Thompson brings over two decades of roofing expertise to Fresno Roof Repair. His dedication to quality craftsmanship and customer satisfaction has earned him a reputation as a reliable authority in the roofing industry.