A gazebo with a polycarbonate roof offers a perfect blend of beauty and functionality, allowing you to enjoy the serenity of your outdoor space while being protected from harsh weather conditions. However, like any other roofing material, polycarbonate roofs can become damaged over time. Whether it’s due to heavy rain, harsh sunlight, or accidental impacts, a damaged gazebo roof?”>polycarbonate gazebo roof can compromise its effectiveness and aesthetic appeal. But fear not! In this article, we’ll walk you through the step-by-step process of repairing a polycarbonate gazebo roof, enabling you to restore its beauty and functionality without breaking a sweat or your wallet. So, let’s dive in and unveil the secrets of reviving your treasured outdoor oasis!
Identifying the Damaged Areas of a Polycarbonate Gazebo Roof
When it comes to repairing a polycarbonate gazebo roof, the first step is to identify the damaged areas that are in need of repair. This will allow you to properly assess the extent of the damage and determine the best course of action for repairing your gazebo roof.
To identify the damaged areas, begin by visually inspecting the entire surface of the roof. Look for any obvious signs of damage such as cracks, holes, or missing panels. Pay close attention to areas that may be prone to wear and tear, such as where the roof meets the frame or near any points of attachment.
In addition to a visual inspection, you may also want to feel the surface of the roof for any inconsistencies or irregularities. Gently run your hand along the roof, paying attention to any areas that feel rough, uneven, or unstable. This could be an indication of damage that may not be immediately visible to the naked eye.
Furthermore, it may be helpful to inspect the roof from underneath, if possible. This will allow you to get a closer look at the condition of the polycarbonate panels and identify any damage or issues that may not be easily seen from above.
Once you have identified the damaged areas of your polycarbonate gazebo roof, you will be better equipped to proceed with the necessary repairs. This step is crucial in ensuring that your repair efforts are focused and effective, ultimately leading to a successful restoration of your gazebo roof.
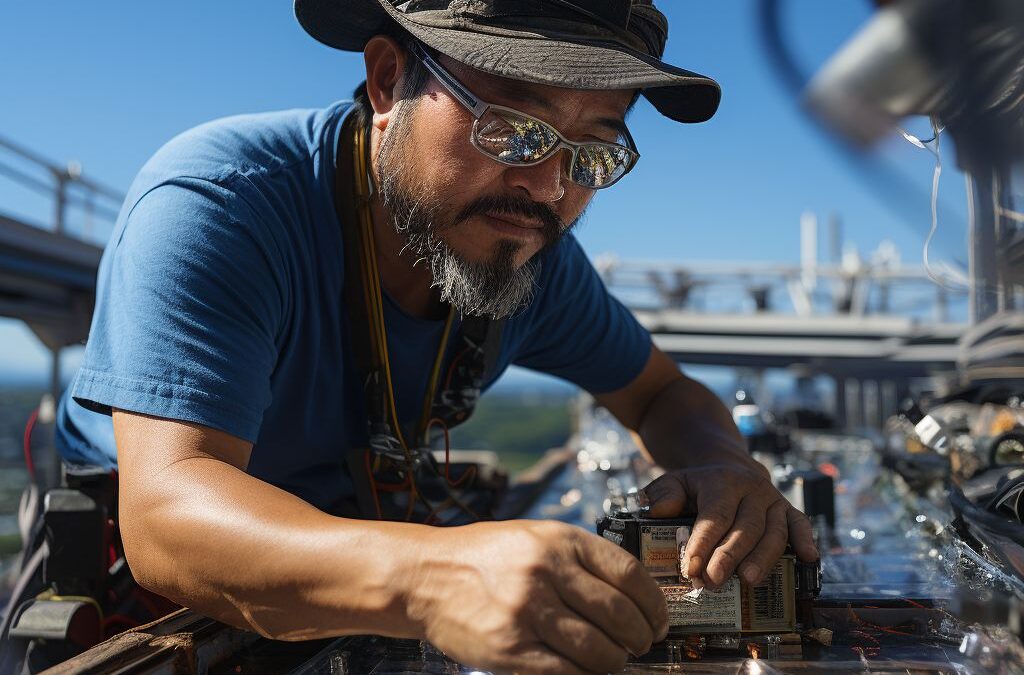
Gathering the Required Tools and Materials for Repairing a Polycarbonate Gazebo Roof
In order to efficiently repair a polycarbonate gazebo roof, it is essential to gather all the necessary tools and materials beforehand. Having these items ready will save you time and ensure a smooth repair process. Here are the key tools and materials you will need:
1. Tape Measure: This tool will help you accurately measure the dimensions required for repairs or replacements.
2. Screwdriver or Drill: Depending on the type of screws or fasteners used on your gazebo roof, you will need either a screwdriver or a drill with the appropriate screwdriver bit.
3. Replacement Polycarbonate Panels: If your gazebo roof has severely damaged or broken panels, it is important to have replacement panels on hand. Measure the size of the damaged panels beforehand to ensure that you purchase the correct ones.
4. Cleaning Solution: Before making any repairs, it is necessary to thoroughly clean the damaged areas. A general-purpose cleaner or a mild detergent mixed with water can be used to remove dirt and debris.
5. Fine Grit Sandpaper: If you need to smooth out rough edges or prepare the surface for patching, fine grit sandpaper can be useful.
6. Polycarbonate-compatible Adhesive: An adhesive specifically designed for polycarbonate materials is crucial for patching cracks or attaching replacement panels. Ensure that the adhesive is suitable for outdoor use and can withstand various weather conditions.
7. Safety Equipment: When working on any roof repairs, it is important to prioritize safety. Wear gloves, safety glasses, and appropriate footwear to protect yourself from potential hazards.
8. Ladder or Scaffolding: Depending on the height of your gazebo, you will need a stable ladder or scaffolding to safely access and work on the roof.
By gathering these essential tools and materials, you will be well-prepared to tackle any repairs needed for your polycarbonate gazebo roof. Having everything at hand will save you time and make the process more efficient, ensuring a successful repair job that will extend the lifespan of your gazebo.
Cleaning and Preparing the Polycarbonate Gazebo Roof for Repair
Before beginning any repairs on a polycarbonate gazebo roof, it is crucial to thoroughly clean and prepare the surface to ensure a successful repair. This step is essential as it will remove any dirt, debris, or previous sealants that can interfere with the repair process.
To start, gather the necessary tools for cleaning the polycarbonate gazebo roof. This may include a soft-bristled brush, a bucket of warm soapy water, a garden hose, and a ladder or scaffolding if needed. It is important to choose a mild soap that is specifically designed for cleaning polycarbonate surfaces to avoid damaging the material.
Begin by using the soft-bristled brush to gently remove any loose dirt, leaves, or debris from the roof. Be careful not to apply too much pressure as this can scratch or damage the surface of the polycarbonate panels. Use sweeping or circular motions to effectively remove any stubborn dirt or grime.
Once the loose debris has been removed, it is time to clean the polycarbonate gazebo roof with warm soapy water. Fill a bucket with water and add a small amount of mild soap. Dip the brush into the soapy water and gently scrub the entire surface of the roof, paying special attention to any dirty or stained areas. Rinse the brush frequently to prevent spreading dirt or debris.
After scrubbing the roof, use a garden hose to thoroughly rinse the surface. Start from the top and work your way down, ensuring that all the soap residue is completely removed. Check for any remaining dirt or spots and repeat the cleaning process if necessary.
Once the roof is clean and free from debris, allow it to dry completely before proceeding with the repair. This can be achieved by leaving it exposed to the air or using a soft cloth to dry any remaining moisture. It is essential to ensure the surface is completely dry to guarantee proper adhesion of any patches or sealants that will be applied during the repair process.
By thoroughly cleaning and preparing the polycarbonate gazebo roof, you are setting the foundation for a successful repair. Taking the time to remove dirt, debris, and previous sealants will allow for better adhesion and ensure a longer-lasting repair.
Applying a Patch or Repairing Cracks in a Polycarbonate Gazebo Roof
If your polycarbonate gazebo roof has developed cracks or areas that need patching, it’s essential to address these issues promptly to prevent further damage. Repairing cracks and applying patches to your polycarbonate gazebo roof can help extend its lifespan and maintain its structural integrity. Here’s a guide on how to effectively apply a patch or repair cracks in a polycarbonate gazebo roof.
Before starting the repair process, make sure you have all the necessary tools and materials. You will need a polycarbonate-compatible adhesive or sealant, a clean cloth or sponge, a cutting tool such as a utility knife, and a patch material made of polycarbonate or a similar material.
Start by cleaning the damaged area of the gazebo roof. Use a clean cloth or sponge and a mild cleanser to remove any dirt, debris, or algae buildup. Ensure that the area is completely dry before proceeding with the repair.
Next, inspect the cracks or damaged areas closely. If the cracks are small and manageable, you may be able to repair them using a polycarbonate-compatible adhesive or sealant. Apply the adhesive along the crack or damaged area, smoothing it out with a putty knife or a similar tool. Allow the adhesive to dry completely according to the manufacturer’s instructions.
For larger cracks or areas that require patching, cut a piece of polycarbonate or a similar material to the size and shape needed to cover the damaged area. Ensure the patch material is slightly larger than the damaged area to provide adequate coverage. If necessary, trim the patch material using a cutting tool.
Before applying the patch, clean the area surrounding the damaged spot and remove any adhesive residue. Apply a thin layer of adhesive or sealant onto the back of the patch, then carefully place it over the damaged area. Press down firmly to ensure proper adhesion and a tight seal.
Once the patch is in place, use a clean cloth or sponge to remove any excess adhesive or sealant. Smooth out the edges of the patch to blend it with the surrounding roof surface. Allow the adhesive to dry completely before exposing the roof to any harsh weather conditions.
Remember to follow the manufacturer’s instructions for the adhesive or sealant you are using and ensure it is compatible with polycarbonate. requires attention to detail and patience to achieve a successful repair.
Replacing Broken or Damaged Polycarbonate Panels in a Gazebo Roof
When it comes to repairing a polycarbonate gazebo roof, one of the most common issues you may face is a broken or damaged panel. Whether it’s due to heavy winds, falling debris, or simply wear and tear over time, it’s important to address this problem promptly to prevent further damage and ensure the structural integrity of your gazebo. In this section, we will discuss the steps to effectively replace broken or damaged polycarbonate panels in a gazebo roof.
First, you will need to gather the necessary tools and materials for this repair. You will need a ladder or step stool, a panel removal tool or a pair of pliers, a measuring tape, a marker or pen, and replacement polycarbonate panels that match the specifications and size of the existing ones. It’s crucial to ensure that you have the correct panel size to avoid any gaps or leaks once the repair is complete.
To begin the replacement process, carefully remove the damaged polycarbonate panel from the gazebo roof. Starting from the bottom edge, use the panel removal tool or pliers to gently remove any screws or clips that are securing the panel in place. Take note of the position of the screws or clips as you will need to reinstall them later.
Once the damaged panel is removed, measure the dimensions of the opening and transfer these measurements to the replacement panel using a measuring tape and a marker or pen. Double-check the measurements to ensure accuracy before cutting the panel. It’s recommended to use a fine-toothed saw or a circular saw with a fine-toothed blade to make the precise cuts.
After cutting the replacement panel to size, carefully position it in the opening, ensuring that it fits snugly and aligns with the surrounding panels. Use the previously removed screws or clips to secure the panel in place, making sure they are fastened tightly but not over-tightened to avoid causing any damage. Proceed to repeat this process for any additional broken or damaged panels that need to be replaced.
In some cases, it may be necessary to trim the replacement panel for a perfect fit. If this is the case, use a fine-toothed saw or a saber saw to carefully trim the panel to the desired size. Remember to measure twice and cut once to avoid any unnecessary errors.
Finally, inspect the newly installed panels to ensure they are securely in place and provide a seamless transition with the existing panels. Apply a thin bead of sealant along the edges of the panels to provide an extra layer of protection against leaks or moisture penetration. Allow the sealant to dry completely before enjoying your repaired polycarbonate gazebo roof.
By following these steps, you can effectively replace broken or damaged polycarbonate panels in a gazebo roof. Remember to prioritize safety during the repair process, wear appropriate safety gear, and take necessary precautions when working at heights. With a little time and effort, you can restore the functionality and aesthetic appeal of your gazebo roof for years to come.
Applying Sealant and Finishing Touches to Ensure a Successful Polycarbonate Gazebo Roof Repair
After completing the necessary repairs to your polycarbonate gazebo roof, it’s important to apply sealant and finish the job properly to ensure long-term durability and protection. The sealant will help to fill any remaining gaps or cracks, preventing water leakage and further damage. Additionally, adding finishing touches will improve the overall appearance and functionality of the repaired roof.
To begin, choose a high-quality sealant specifically designed for polycarbonate materials. Look for a product that is UV-resistant and weatherproof to provide maximum protection against the elements. Apply the sealant along the repaired areas, covering any cracks or gaps thoroughly. Use a caulking gun for precise application and smooth out the sealant with a putty knife or your finger, ensuring a tight seal.
In addition to sealing the repaired areas, it’s also essential to address any remaining weak spots or potential problem areas. Inspect the entire roof surface to identify any loose panels or fasteners. Reattach any loose panels and tighten any loose or damaged fasteners using the appropriate tools. This will not only enhance the structural integrity of the gazebo roof but also prevent further damage from occurring.
Once the sealant has dried and any necessary repairs have been made, it’s time to add the finishing touches. Clean the entire roof surface to remove any debris or dirt that has accumulated during the repair process. Use a mild soap and water solution and a soft-bristle brush to gently scrub the roof surface. Rinse thoroughly with clean water and allow it to dry completely.
Next, consider applying a protective coating to the polycarbonate roof. This will provide an extra layer of defense against UV rays and prolong the life of the roof. Look for a coating specifically designed for polycarbonate materials and follow the manufacturer’s instructions for application. Apply the coating evenly across the entire roof surface using a paintbrush or roller, ensuring complete coverage.
Finally, step back and admire your successful polycarbonate gazebo roof repair. By applying sealant to the repaired areas and adding finishing touches, you have taken important steps towards restoring its functionality and appearance. Regular maintenance and periodic inspections will help to ensure the continued integrity of your gazebo roof, allowing you to enjoy its benefits for years to come.
People Also Ask
1. Can you repair a cracked polycarbonate gazebo roof?
Yes, you can repair a cracked polycarbonate gazebo roof by using a compatible adhesive specially designed for polycarbonate materials. Apply the adhesive to the crack and hold the pieces together until the adhesive sets.
2. What is the best way to clean a polycarbonate gazebo roof?
The best way to clean a polycarbonate gazebo roof is to use a mild soap or detergent mixed with warm water. Gently scrub the roof using a soft cloth or sponge, and rinse thoroughly with clean water. Avoid using abrasive materials or harsh chemicals that could damage the polycarbonate surface.
3. Are there any specific tools required for repairing a polycarbonate gazebo roof?
Some tools that may be helpful for repairing a polycarbonate gazebo roof include a compatible adhesive, a clean cloth or sponge for cleaning, a soft brush for removing debris, and a ladder or step stool for reaching the roof if necessary.
4. How long does it take to repair a polycarbonate gazebo roof?
The time it takes to repair a polycarbonate gazebo roof can vary depending on the extent of the damage and the proficiency of the person performing the repair. Generally, minor cracks or holes can be repaired within a few hours, while larger repairs may take longer.
5. Can I paint a repaired polycarbonate gazebo roof?
Yes, you can paint a repaired polycarbonate gazebo roof if desired. However, it’s important to choose a paint specifically formulated for use on polycarbonate material and ensure that the repaired area is clean and dry before applying the paint.
Key Takeaways
In conclusion, repairing a polycarbonate gazebo roof can be a simple process that can extend the lifespan of your structure. By carefully assessing the damage, obtaining the necessary materials, and following the proper repair methods, you can restore the functionality and aesthetics of your gazebo roof.
Taking timely action to repair any cracks, holes, or other damages in your polycarbonate roof is essential to prevent further deterioration and potential structural issues. Additionally, routine maintenance, such as regular cleaning and inspection, can help identify and address any smaller problems before they escalate.
Remember to prioritize safety throughout the repair process by using protective gear and following the manufacturer’s guidelines. If you feel uncomfortable or unsure about conducting the repairs yourself, it’s recommended to seek the assistance of a professional contractor or roofing specialist.
By proactively addressing any roof issues and maintaining your polycarbonate gazebo, you can ensure its long-lasting durability and enjoy endless hours of outdoor relaxation. Don’t wait until the damage worsens – take action today to repair and maintain your polycarbonate gazebo roof for years to come.

Residential Roofing Expert
With a keen eye for detail and a passion for precision, David Reynolds is committed to ensuring every roofing project exceeds expectations. His extensive knowledge in residential and commercial roofing makes him an invaluable asset to our team.