So you’ve noticed that your metal shed roof has sprung a leak. Don’t panic just yet! Even though leaks can be a nuisance, they are a common problem that can be fixed with a little know-how. In this article, we will guide you through the step-by-step process of repairing a leaking metal shed roof, saving you both time and money. Whether you’re a seasoned DIY-er or a beginner looking to tackle your first roofing project, we’ve got you covered. With our expert tips and practical advice, you’ll be able to restore your leaky shed roof to its former dry and sturdy state. Let’s get started, shall we?
Identifying the Source of the Leak in a Metal Shed Roof
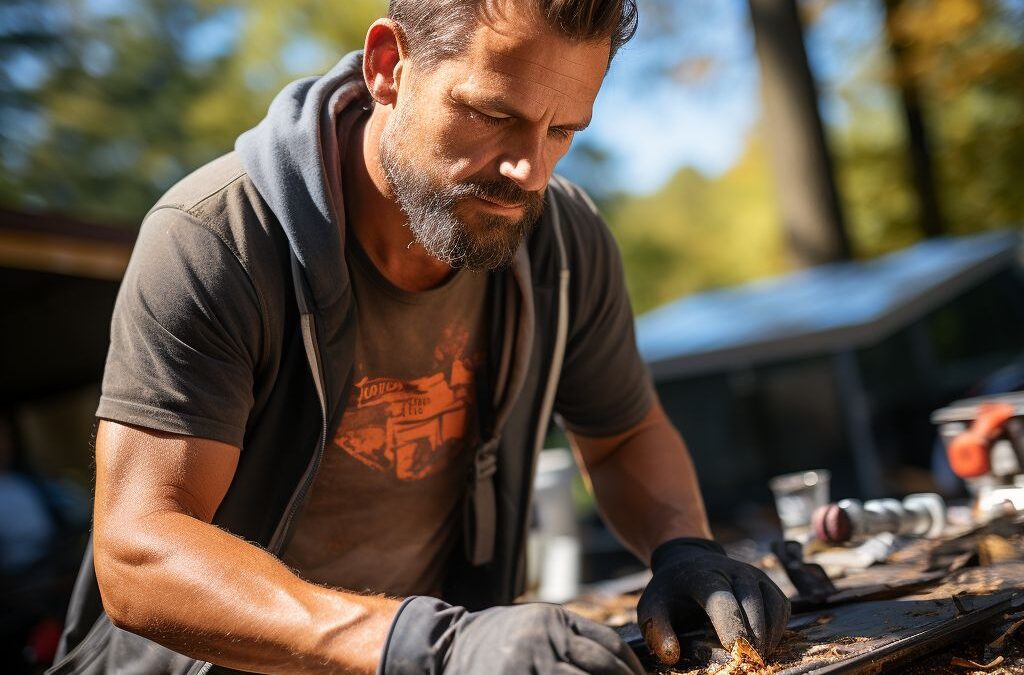
When it comes to repairing a leaking metal shed roof, the first and most important step is to accurately identify the source of the leak. This will allow you to focus your efforts on the specific area that needs repair, saving you time and ensuring the effectiveness of your repair work.
To begin, start by inspecting the interior of your metal shed during a rainstorm. Look for any signs of water dripping or pooling on the floor, as this can give you a good indication of where the leak might be coming from. Pay close attention to areas where the leak is most prominent or where water stains are visible on the ceiling.
Once you have identified a general area, it’s time to inspect the exterior of the roof. Grab a ladder and carefully climb up to get a closer look. Look for any obvious signs of damage such as loose or missing metal sheets, rusted areas, or holes in the roof. These can all be potential sources of the leak.
If you don’t immediately spot any visible damage, try running water over different sections of the roof using a hose. This can help simulate rainfall and make it easier to spot the source of the leak. Pay close attention to any areas where water seems to seep through or accumulate.
Remember, leaks can sometimes be deceptive and the actual source may be a few feet away from where the water is entering the shed. Take your time and carefully inspect the entire roof, paying attention to any unusual or suspicious areas.
By properly identifying the source of the leak in your metal shed roof, you’ll be able to repair it effectively and prevent further damage. Taking the time to thoroughly inspect both the interior and exterior of the roof will save you from unnecessary repairs and ensure the longevity of your shed.
Assessing the Extent of the Damage to Your Metal Shed Roof
When faced with a metal shed roof?”>leaking metal shed roof, it is crucial to assess the extent of the damage before proceeding with the repair. This will help you determine the necessary steps and materials needed to effectively fix the issue.
Start by inspecting the roof for any visible signs of damage, such as rusted areas, loose or missing screws, or dents. Take note of the overall condition of the metal sheets and adjacent parts, including the ridge caps, eaves, and flashings.
Next, climb onto the roof (taking necessary safety precautions) and carefully walk across its surface to identify any weak or soft spots. These spots could indicate water damage or corrosion underneath the metal sheets.
If you notice any areas where the metal sheets have begun to separate or lift, this can be a sign of more significant damage. In such cases, it may be necessary to replace the affected sheets entirely. Additionally, if you come across areas with significant rust or holes that cannot be easily repaired, it is advisable to replace those sections.
To ensure a thorough assessment, you may want to run water over various sections of the roof and observe if any new leaks appear. This will help you pinpoint the exact location of the leaks and determine the areas that require immediate attention. Consider making a note or marking the spots for future reference during the repair process.
Remember, the key to a successful metal shed roof repair is identifying and addressing all areas of damage. By carefully assessing the extent of the damage, you can plan and execute the repair effectively, ensuring the longevity and reliability of your metal shed roof.
Repairing Small Holes and Cracks in a Metal Shed Roof
When it comes to , it’s important to act promptly to prevent further water damage and ensure the longevity of your roof. These small imperfections can easily turn into larger issues if left unattended, so taking the time to address them now will save you time and money in the long run.
One method for is to use a high-quality silicone caulk. This flexible sealant is designed to adhere to metal surfaces and create a watertight seal. Clean the area around the hole or crack using a wire brush and remove any loose debris. Apply the caulk generously to the damaged area, spreading it evenly using a putty knife or your finger. Smooth out the caulk and allow it to dry completely before exposing the roof to any moisture.
Another option for repairing small holes and cracks is to use a metal patch. Start by cleaning the area around the damaged spot, removing any dirt or rust. Cut a piece of galvanized sheet metal slightly larger than the hole or crack, ensuring it covers the damaged area completely. Apply a layer of roofing cement to the back of the patch and press it onto the damaged area, smoothing out any wrinkles or air bubbles. Secure the patch in place using screws or nails, and then apply another layer of roofing cement over the top to create a weatherproof seal.
It’s worth noting that these repair methods are most effective for small holes and cracks. If you have larger areas of damage or extensive wear and tear, it may be necessary to replace the entire metal sheet on your shed roof. When in doubt, it’s always best to consult a professional roofer who specializes in metal roofs for guidance and assistance.
Remember, addressing small holes and cracks in your metal shed roof as soon as they appear is essential to preventing further damage. By taking the time to repair these small imperfections, you’ll help maintain the integrity of your shed roof and protect your belongings inside.
Replacing Damaged or Missing Metal Sheets on a Shed Roof
If you have identified damaged or missing metal sheets on your shed roof as the source of the leak, it is crucial to address this issue promptly to prevent further water damage to your shed and its contents. Replacing these metal sheets requires careful attention to detail and the right tools and materials.
To start, assess the extent of the damage and determine the number of metal sheets that need to be replaced. Measure the size and shape of the damaged area to ensure you obtain the appropriate replacement sheets. It is essential to match the material, color, and profile of the existing metal sheets to maintain the integrity and appearance of your shed roof.
Once you have the replacement metal sheets, begin by carefully removing the damaged or missing sheets from the roof. Use caution to avoid damaging adjacent sheets during the removal process. Keep in mind that safety should always be a priority when working on a roof, so having someone assist you can ensure stability and prevent accidents.
Next, clean the area where the new sheets will be installed, ensuring all debris and dirt are removed. If there are any remaining traces of old sealant, scrape it off to create a clean surface for proper adhesion. It is a good idea to inspect the underlying structure, such as the trusses or rafters, for any signs of damage or deterioration. Address any issues found during this inspection before proceeding with the installation of the new metal sheets.
Before placing the replacement sheets, it may be beneficial to apply a layer of sealant or rust inhibitor on the exposed areas of the roof to provide additional protection against future leaks. Once this is done, carefully align the new sheets with the existing ones and secure them in place using appropriate fasteners, such as screws or nails designed for metal roofing. Make sure to follow the manufacturer’s recommendations regarding spacing and fastening methods to ensure a tight and secure fit.
After all the replacement sheets are installed, inspect the entire roof for any remaining gaps or potential areas of concern. Apply a generous amount of sealant along the seams and edges of the metal sheets to create a strong and watertight seal. It is crucial to use a high-quality sealant designed for metal roofing to ensure durability and longevity.
Remember that proper maintenance, such as regular cleaning and inspections, is vital to keep your metal shed roof in optimal condition. Additionally, addressing any minor issues promptly can help prevent more significant damage and costly repairs in the future. By following these steps and taking the necessary precautions, you can effectively replace damaged or missing metal sheets on your shed roof and protect it from leaks.
Applying a Protective Coating to Prevent Future Leaks in a Metal Shed Roof
One of the most effective ways to prevent future leaks in a metal shed roof is by applying a protective coating. This coating acts as a barrier between the metal surface and the elements, providing an extra layer of protection against water, UV rays, and other potential causes of damage. By taking this proactive step, you can prolong the lifespan of your shed roof and minimize the need for frequent repairs in the future.
Before applying a protective coating, it’s important to thoroughly clean and prepare the metal shed roof surface. Use a broom or brush to remove any loose dirt, debris, or rust. You can also wash the roof with a mild detergent and water solution to ensure it is completely clean and free from any contaminants that may interfere with the coating’s adhesion.
Once the roof is clean and dry, it’s time to apply the protective coating. There are several options available, including acrylic, silicone, and elastomeric coatings. Each type has its own unique properties and benefits, so it’s important to choose the one that best suits your specific needs.
Acrylic coatings are known for their durability and resistance to weathering. They can be easily applied with a brush, roller, or spray gun, and they dry quickly to form a protective film that seals the roof against water and other elements. These coatings are also available in a variety of colors, allowing you to enhance the appearance of your metal shed roof.
Silicone coatings are another popular choice for protecting metal shed roofs. They are highly flexible, which allows them to expand and contract with the metal as it heats and cools. This flexibility helps prevent cracking and peeling, ensuring long-lasting protection. Silicone coatings are also resistant to mold and mildew growth, making them an ideal choice for humid or damp environments.
Elastomeric coatings offer superior elongation and tensile strength, making them highly resistant to cracking and splitting. They can be applied to both horizontal and vertical surfaces, providing comprehensive protection. Elastomeric coatings are also highly reflective, which helps reduce heat absorption and can contribute to energy efficiency.
When applying the protective coating, be sure to follow the manufacturer’s instructions carefully. It’s important to apply the coating evenly and at the recommended thickness to ensure maximum effectiveness. Depending on the type of coating you choose, you may need multiple coats to achieve the desired level of protection.
In conclusion, applying a protective coating to your metal shed roof is a proactive and effective way to prevent future leaks. By selecting the right type of coating and following the proper application process, you can extend the life of your shed roof and keep it in excellent condition for years to come.
People Also Ask
1. How do you find the source of a metal shed roof leak?
To locate the leak, start by inspecting the roof for any visible damage like holes, rust, or loose fasteners. If no apparent issues are seen, you can use a hose to simulate rainfall and observe where the water is entering the shed.
2. Can I fix a metal shed roof leak without professional help?
Yes, you can repair a leaking metal shed roof yourself. Begin by cleaning the roof surface, removing any rust or loose paint, and then apply a waterproof sealant or metal roof repair patch to cover the damaged area, ensuring proper adhesion to prevent further leaks.
3. Should I replace or repair a severely damaged metal shed roof?
If the roof is extensively damaged or shows signs of multiple leaks, it may be more cost-effective to replace the entire metal shed roof rather than attempting repairs. A professional evaluation can help determine the most suitable course of action.
4. What are some common causes of metal shed roof leaks?
Common causes of metal shed roof leaks include corrosion, rust, loose fasteners, damaged or missing sealant, improperly installed flashing, or holes caused by falling debris or animal activity.
5. Will applying a roof coating prevent future leaks in a metal shed roof?
Applying a roof coating specially formulated for metal roofs can help prevent future leaks by providing an added layer of protection against the elements. It can also extend the lifespan of the roof and improve energy efficiency by reducing heat transfer.
Conclusion
In conclusion, repairing a leaking metal shed roof requires careful inspection, preparation, and the use of appropriate materials and techniques. By following the steps outlined in this guide, you can effectively identify and fix the leaks in your shed roof, ensuring its long-term durability and functionality.
Remember to thoroughly clean and dry the roof surface before applying any repairs, and always prioritize safety while working at heights. Additionally, regularly inspecting your metal shed roof for potential leaks and addressing them promptly will help prevent further damage and increase its lifespan.
Should you encounter more complex or extensive roof issues that require professional assistance, it is advisable to seek the help of a qualified roofing contractor. By doing so, you can ensure that your metal shed roof is repaired correctly and effectively, saving you time, effort, and potential costly mistakes.
By taking the necessary steps to repair and maintain your metal shed roof, you can enjoy a leak-free and reliable structure for many years to come. Invest in the health of your shed roof now to avoid costly repairs or replacements in the future.

Innovation and Technology Director
William Simmons is dedicated to bridging the gap between innovative roofing technologies and traditional craftsmanship. His focus on blending modern techniques with reliable practices ensures optimal results for our clients.