There’s nothing quite as disheartening as discovering a roof tile without replacing it?”>roof tile?”>cracked roof tile?”>cracked roof tile. It’s that unnerving feeling of knowing that water could potentially seep in, wreaking havoc on your home. But fear not! With the right knowledge and tools, you can easily repair that cracked tile and restore your roof to its former glory. In this article, we’ll guide you step-by-step through the process of repairing a cracked roof tile, helping you save money and ensuring the longevity of your roof. So put on your DIY hat, grab your tools, and let’s get down to business!
Signs of a cracked roof tile and when to repair it
:
A cracked roof tile is not always immediately visible, but it can lead to significant damage if left unaddressed. The first sign of a cracked roof tile may be a water leak inside your home or water stains on your ceiling. Additionally, you may notice pieces of tile debris in your gutters or around the perimeter of your house.
It’s important to promptly repair cracked roof tiles to prevent further damage. Ignoring a crack can allow water to seep in, leading to a compromised roof structure, mold growth, and even interior damage.
Regular inspections of your roof can help identify cracked tiles, and a professional roofer can further assess the severity of the cracks and guide you in the repair process. It’s best to address cracked roof tiles as soon as possible to prevent the situation from worsening. Keeping an eye out for signs of damage and acting promptly can save you time, money, and the headache of more extensive repairs down the line.
Assessing the severity of the crack and potential risks
When it comes to repairing a cracked roof tile, it is important to assess the severity of the crack and understand the potential risks associated with it. Cracked roof tiles?”>roof tiles?”>roof tiles can lead to leaks, water damage, and ultimately compromise the structural integrity of your roof. Therefore, it is crucial to evaluate the crack and take appropriate action to prevent further damage.
To assess the severity of the crack, start by visually inspecting the tile. Look for any noticeable cracks or breaks that may have occurred due to weather conditions, improper installation, or simply the aging of the tile. Next, gently tap the tile with a mallet or similar tool to determine if it sounds hollow or emits a dull, thudding noise. Hollow sounds may indicate the presence of a crack or break beneath the surface, requiring immediate attention.
It is also important to consider the potential risks associated with a cracked roof tile. Even small cracks can allow water to seep through, leading to leaks and water damage inside your home. Over time, this moisture can cause mold growth, rot wood structures, and compromise the overall stability of your roof. Additionally, cracked roof tiles need to be replaced?”>cracked roof tiles need to be replaced?”>cracked roof tiles create entry points for pests such as rodents and insects, which can further damage your roof and pose a threat to your home’s hygiene.
Assessing the severity of a crack and understanding the potential risks allows you to determine the urgency of the repair. While minor cracks may be addressed as part of regular maintenance, significant cracks or those causing immediate issues should be dealt with promptly to prevent further damage to your roof and home. Remember, it is always recommended to consult a professional roofing contractor for a comprehensive inspection and expert advice on repairing cracked roof tiles.
Choosing the right tools and materials for repairing a cracked roof tile
is crucial to ensure a successful and long-lasting repair. With the right equipment and supplies, you can effectively fix the crack and prevent further damage to your roof.
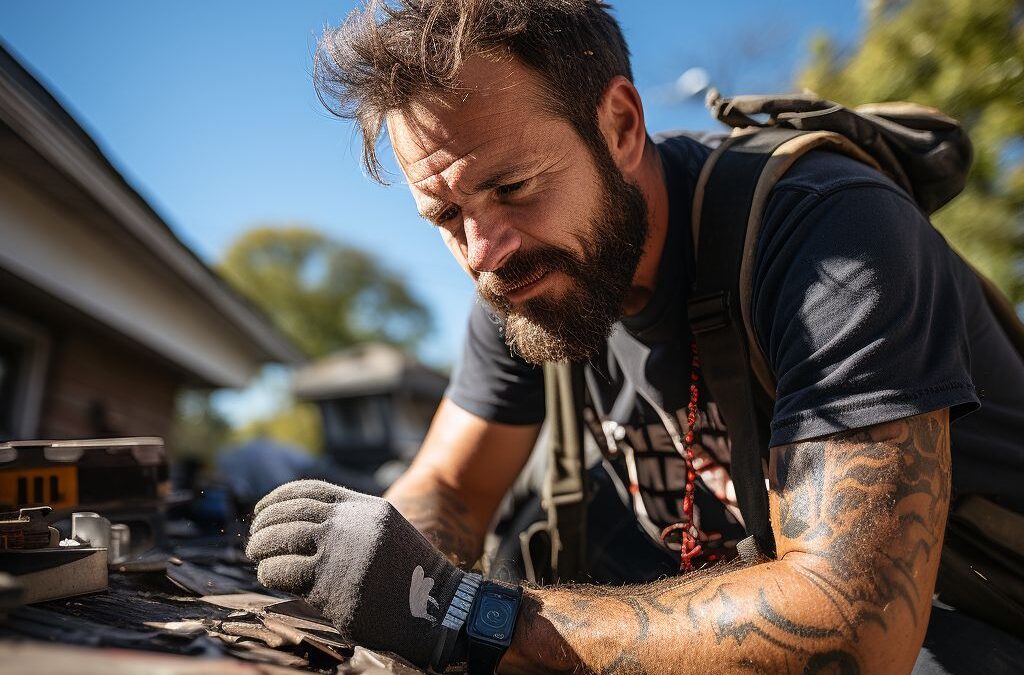
First, you will need to gather the necessary tools for the job. Some of the basic tools you may need include a ladder, safety harness, hammer, chisel, pry bar, and a utility knife. These tools will help you remove the damaged tile safely and prepare the area for repair.
Next, it’s important to select the appropriate materials for repairing the cracked roof tile. One option is to use a roof tile adhesive, which is specifically designed for repairing cracks and securing loose tiles. Roof tile adhesive is a flexible and durable sealant that will provide a tight bond and prevent water leakage. Another option is to use a roof repair compound, which can be applied directly to the cracked tile to fill in the gaps and reinforce the structure.
When choosing the tools and materials, it’s important to consider the type of roof tile you have. Different types of roof tiles require different repair methods and materials. For example, clay tiles may require a different adhesive or repair compound compared to concrete tiles. It’s essential to consult the manufacturer’s guidelines or seek professional advice to ensure you are using the correct tools and materials for your specific type of roof tile.
Additionally, it is recommended to wear protective gear such as safety goggles and gloves while working on roof repairs. These precautions will help protect you from any potential risks or injuries during the repair process.
Remember, choosing the right tools and materials is key to successfully repairing a cracked roof tile. By using the appropriate equipment and supplies, you can ensure a proper seal and a long-lasting repair that will protect your roof from further damage.
Step-by-step guide to repairing a cracked roof tile
Repairing a cracked roof tile may seem like a daunting task, but with the right tools and materials, it can be easily accomplished. Here’s a step-by-step guide to help you through the process and restore the integrity of your roof.
1. Safety first: Before you start any repair work, ensure your safety by wearing protective gear such as gloves and safety goggles. Also, work on a stable ladder or scaffolding to prevent any accidents.
2. Inspect the cracked tile: Carefully examine the cracked roof tile to assess the severity of the damage. If the crack is small and not extending beyond the surface, you can readily repair it. However, if the crack is large or there are multiple cracks, it might be best to replace the tile altogether.
3. Remove the damaged tile: Using a putty knife or a pry bar, gently lift the surrounding tiles to gain access to the cracked tile. Be cautious not to damage any neighboring tiles during this process. Once the damaged tile is exposed, carefully lift it off the roof.
4. Clean the area: Before installing a new tile, ensure the area underneath is clean. Use a wire brush or a soft broom to remove any debris or dirt. This step ensures better adhesion and a seamless repair.
5. Apply roofing cement: Using a putty knife, apply a layer of roofing cement on the exposed area where the new tile will be placed. This acts as a waterproofing sealant and helps adhere the new tile.
6. Install the new tile: Carefully place the new roof tile in the designated spot, aligning it with the surrounding tiles. Press it firmly into the roofing cement, ensuring a secure fit. Gently lower the neighboring tiles back into place, making sure they overlap the repaired tile to maintain a watertight seal.
7. Apply sealant and finish: Finally, apply a thin layer of roofing sealant around the edges of the newly installed tile to create an additional barrier against moisture. Smooth it out with a putty knife for an even finish. Allow sufficient time for the sealant to dry before conducting a thorough inspection.
Remember, each step should be executed with caution and precision. If you’re uncertain about any aspect of the repair process, it’s best to consult a professional roofing contractor to ensure a proper and long-lasting fix.
By following these steps, you can successfully repair a cracked roof tile and safeguard your home from potential water damage and leaks. Regular roof maintenance and timely repairs can significantly prolong the life of your roof, ensuring its continued protection for years to come.
Tips for preventing future roof tile cracks
Preventing future roof tile cracks is essential in maintaining the integrity and longevity of your roof. By following some simple maintenance practices, you can minimize the risk of cracks and avoid costly repairs down the line.
1. Regular inspections: Conducting regular inspections of your roof is crucial in identifying any potential issues, including cracked roof tiles. Inspect your roof annually or after severe weather events to catch any cracks early on.
2. Keep trees trimmed: Overhanging branches can scrape against your roof tiles, leading to damage over time. Trim any branches that come in contact with your roof to prevent cracks caused by constant friction.
3. Clean gutters and downspouts: Clogged gutters and downspouts can cause water to overflow and pool around your roof, increasing the chances of cracks and leaks. Regularly clean and maintain your gutters to ensure proper water drainage.
4. Maintain attic ventilation: Proper attic ventilation plays a crucial role in maintaining the temperature and moisture balance in your roof. Excess heat and moisture can weaken roof tiles and lead to cracks. Ensure your attic is well-ventilated to prevent these issues.
5. Avoid walking on the roof: Walking on your roof can cause stress and pressure on the tiles, potentially leading to cracks. Unless necessary, avoid walking on the roof and use caution when performing any maintenance or repairs.
6. Address moss and algae growth: Moss and algae can accumulate on roof tiles, trapping moisture and causing them to deteriorate over time. Regularly clean your roof to remove any moss or algae and prevent damage to the tiles.
7. Hire professional roof cleaners: If you’re uncomfortable or inexperienced with roof maintenance, it’s best to hire professional roof cleaners. They have the expertise and tools to safely inspect and maintain your roof, preventing cracks and other issues.
By following these preventative measures, you can significantly reduce the risk of roof tile cracks and protect your home from potential water damage. Remember, early detection and maintenance are key to avoiding costly repairs and ensuring the longevity of your roof.
Ensuring a proper seal and long-lasting repair
To ensure a proper seal and long-lasting repair for your cracked roof tile, it is important to pay attention to the details and follow the correct steps. Taking the time to properly seal the crack will prevent future leaks and extend the lifespan of your roof. Here are some tips to help you achieve a successful repair.
Firstly, it is crucial to clean the area around the crack thoroughly. Use a stiff brush to remove any dirt, debris, or loose material from the surface of the tile. This step is essential as it ensures that the repair material adheres properly to the tile. Once the area is clean, inspect the crack to ensure there are no loose or damaged parts. If there are any loose fragments, carefully remove them using a chisel or scraper.
Next, apply a generous amount of roofing sealant to the crack. Choose a high-quality roofing sealant that is specifically designed for tile repairs. Apply the sealant evenly along the crack, making sure to fill it completely. Use a putty knife or a caulking gun for more precise application.
After applying the sealant, use a cloth or sponge to remove any excess material from the surrounding area. This step is important to maintain the aesthetic appeal of your roof. Allow the sealant to dry completely according to the manufacturer’s instructions. Typically, it takes around 24 hours for the sealant to fully cure.
For additional protection and to reinforce the repair, you may consider applying a layer of roof coating over the sealed crack. Roof coating not only provides an extra layer of protection but also helps to blend the repaired area with the rest of the roof. Ensure the roof coating is compatible with the type of tile you have and follow the manufacturer’s instructions for application.
Regular roof maintenance is essential to prevent future cracks and extend the lifespan of your roof. Inspect your roof regularly for any signs of wear and tear, especially after severe weather conditions. Trim overhanging branches to prevent them from falling on the roof and causing damage. Additionally, ensure that your gutters are clean and free from debris to prevent water backup.
By following these steps and tips, you can ensure a proper seal and long-lasting repair for your cracked roof tile. Taking the time to address any cracks promptly and performing regular maintenance will help you avoid costly repairs in the future and keep your roof in excellent condition for years to come.
People Also Ask
Can you repair a cracked roof tile?
Yes, it is possible to repair a cracked roof tile. You can fix the crack using roof tile adhesive or a clear silicone waterproofing sealant. Clean the cracked area, apply the adhesive or sealant, and carefully press the cracked edges back together.
What materials do I need to repair a cracked roof tile?
To repair a cracked roof tile, you will need roof tile adhesive or clear silicone waterproofing sealant, a putty knife or trowel, a wire brush, and a cloth for cleaning the cracked area. It is also helpful to have a ladder and safety equipment when accessing the roof.
How long does it take to repair a cracked roof tile?
The time required to repair a cracked roof tile depends on the size of the crack and your experience. Generally, it takes anywhere from 15 minutes to a couple of hours to complete the repair, including the cleaning, application of adhesive or sealant, and waiting for it to cure.
Can I repair a cracked roof tile myself?
Yes, you can repair a cracked roof tile yourself if you have the necessary tools and materials. However, if you are not comfortable working at heights or if the crack is extensive, it is advisable to hire a professional roofer to ensure a safe and effective repair.
What are the risks of leaving a cracked roof tile unrepaired?
Leaving a cracked roof tile unrepaired can lead to water leakage, which can cause damage to the underlying structure and insulation. It can also lead to the growth of mold and mildew. Additionally, the cracked tile may become more damaged over time, making the overall repair more expensive.
Closing Remarks
In conclusion, repairing a cracked roof tile is a task that can be done by homeowners themselves with the right materials and techniques. By following the steps outlined above, you can successfully repair a cracked roof tile and prevent further damage to your roof and home.
Remember to assess the severity of the crack before attempting any repairs and ensure your safety by using appropriate protective gear. Additionally, it’s essential to regularly inspect your roof for any signs of damage and address them promptly to avoid costly repairs in the future.
By taking the time to repair cracked roof tiles?”>repair cracked roof tiles?”>repair cracked roof tiles, you can maintain the integrity of your roof, prolong its lifespan, and protect your home from water damage. With a little effort and attention to detail, you can successfully repair cracked roof tiles and ensure the long-term durability of your roofing system.
So, the next time you notice a cracked roof tile, don’t hesitate to take action. With the right tools and knowledge, you can tackle the task effectively and safeguard your home from the elements. Your roof will thank you for it!

Customer Relations Manager
Benjamin Turner is a customer-centric professional, placing emphasis on open communication and transparency throughout the roofing process. His dedication to client satisfaction ensures a smooth and collaborative experience.