Roofs play a vital role in protecting our homes, but their resilience is put to the test daily, battling against the harsh forces of nature. As a result, it’s not uncommon for a roof tile to become cracked or broken over time. While a damaged tile might seem like a daunting repair job, fear not! With the right tools, a bit of know-how, and a dash of patience, you can easily fix that broken tile and restore your roof’s integrity, preventing leaks and further damage. So, roll up your sleeves, grab your tools, and let’s dive into the step-by-step process of repairing a broken roof tile. You’ll be amazed at how straightforward it can be to resurrect your roof from the clutches of disrepair.
Identifying the damaged roof tile
When it comes to repairing a broken roof tile, the first step is to identify the damaged tile. This might seem like a simple task, but it is essential to locate the specific tile that needs to be replaced to ensure a proper repair.
One way to identify a broken roof tile is by conducting a visual inspection of the roof. Look for any cracks, chips, or missing pieces on the tiles. If you notice any signs of damage, it is likely that the tile needs to be replaced.
Another method for identifying a damaged roof tile is through a careful examination of the interior of your home. Look for any signs of water leaks or stains on the ceilings and walls. These could be indications that there is a broken tile on the roof, allowing water to seep into your home.
If you are still unsure about which tile is damaged, you can try tapping on the tiles gently with a broom handle. A damaged tile will produce a hollow sound, whereas a intact tile will sound solid. This can help you pinpoint the exact location of the broken tile.
By carefully inspecting your roof and checking for any signs of damage, you will be able to identify the specific tile that needs to be repaired or replaced. This initial step is crucial for ensuring a successful roof repair and preventing any further damage to your home.
Gathering the necessary tools and materials
When it comes to repairing a broken roof tile, having the right tools and materials on hand is essential to ensure a successful repair job. Before you begin the repair process, it’s important to gather everything you’ll need to complete the task efficiently.
Here are the tools and materials you’ll need:
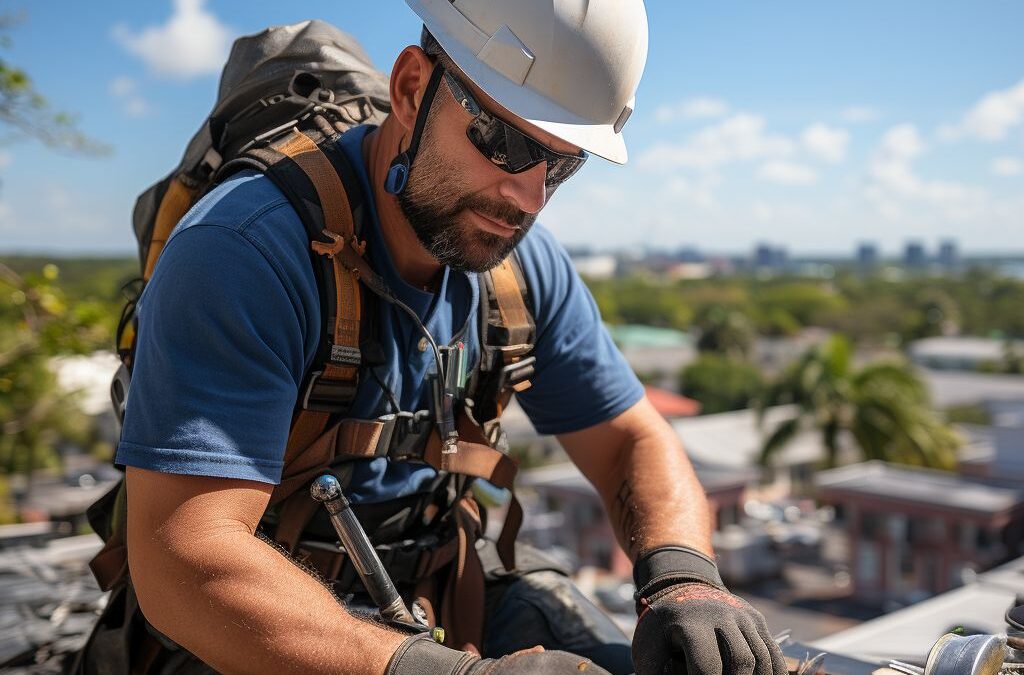
1. Safety gear: Before you start any roofing job, prioritize your safety. Make sure to wear appropriate safety gear such as gloves, safety glasses, and sturdy footwear. It’s also a good idea to use a ladder stabilizer to ensure you have a stable platform while working at heights.
2. Replacement roof tiles: In order to replace the broken roof tile, you’ll need to have a matching replacement tile on hand. It’s important to select a tile that matches not only the size, but also the color and texture of the existing tiles to maintain the overall aesthetics of your roof.
3. Pry bar or tile lifter: To safely remove the damaged tile, you’ll need a tool that can lift the tile without causing further damage to the surrounding tiles. A pry bar or a tile lifter can help you with this task, allowing you to carefully remove the broken tile.
4. Roofing cement: Roofing cement is a crucial material used to secure the replacement tile in place. It helps to create a watertight seal, preventing any water from seeping through the repaired area. Make sure to choose a high-quality roofing cement that is weather-resistant and durable.
5. Roofing nails or screws: To secure the replacement tile in place, you’ll need roofing nails or screws. These should be rust-resistant and long enough to properly anchor the tile to the roof structure.
6. Caulking gun and sealant: If you notice any cracks or gaps in the surrounding tiles or along the edges of the repaired area, you’ll need a caulking gun and appropriate sealant to fill these gaps. This will help to prevent any water intrusion and maintain the integrity of your roof.
7. Hammer and chisel: In certain cases, you may need a hammer and chisel to remove any excess mortar or adhesive from the area where the broken tile was removed. This will ensure a smooth and even surface for placing the replacement tile.
By gathering these essential tools and materials beforehand, you’ll be well-prepared to repair a broken roof tile effectively. It’s always a good idea to have extras of certain materials such as replacement tiles and roofing nails in case you encounter any additional damages or require extra support during the repair process. Remember, safety should always be your top priority when working on your roof, so make sure to use appropriate safety gear and follow proper procedures to avoid any accidents or injuries.
Removing the broken roof tile safely
:
When it comes to repairing a broken roof tile, safety should be your top priority. Before attempting to remove the damaged tile, it is important to take the necessary precautions to minimize the risk of accidents or injuries. By following these guidelines, you can ensure a safe and hassle-free process.
Firstly, before starting any work on your roof, be sure to wear appropriate safety gear. This includes a sturdy pair of gloves, safety goggles, and slip-resistant shoes. These protective measures will safeguard you from potential hazards such as sharp edges, falling debris, or accidental slips on the roof surface.
Next, carefully assess the condition of the surrounding tiles. If there are any loose or damaged tiles nearby, it is crucial to secure or replace them before proceeding with the removal process. This will prevent further damage to the roof and ensure stability during the repair.
To remove the broken roof tile safely, start by using a ladder or scaffolding to access the damaged area. Take caution when climbing and ensure the ladder is stable and properly positioned. Once you’re at the right height, gently lift the adjacent tiles to expose the broken one.
To minimize the risk of injury, it is vital to handle the broken tile with care. Slowly and steadily lift the tile using a pry bar or flathead screwdriver, being mindful not to apply excessive pressure that could cause neighboring tiles to crack or shift. Work from the bottom of the tile, gradually moving upward, until the entire broken tile is free from its position.
After successfully removing the broken tile, place it in a secure container or bag to prevent any accidents from occurring. Dispose of it properly and prepare for the next step in the repair process.
Remember, if you do not feel confident or comfortable with removing the broken tile yourself, it is always best to seek professional assistance. Roof repairs can be dangerous, and it is better to have an expert handle the task if there is any doubt in your ability to do so safely.
Preparing the area for repair
Before replacing a broken roof tile, it is important to properly prepare the area to ensure a successful repair. This involves cleaning the surrounding surface, inspecting the adjacent tiles, and making any necessary repairs or adjustments.
Start by removing any debris or dirt from the roof tile and the area surrounding it. A broom or a soft-bristled brush can be used to gently sweep away any loose particles. Take care not to apply too much pressure or use any abrasive materials that may cause further damage to the tile or the roof.
Next, carefully inspect the adjacent tiles for any signs of damage or wear. Look for cracks, chips, or loose tiles that may need to be repaired or replaced. It is important to address any issues with neighboring tiles to prevent future problems and ensure the overall integrity of the roof.
If any of the neighboring tiles are damaged or show signs of wear, consider replacing them as well. This will help maintain a uniform appearance and ensure a more secure and long-lasting repair. Additionally, replacing multiple tiles at once can prevent the need for future repairs and save time and effort in the long run.
Finally, check the condition of the underlayment beneath the roof tile. The underlayment serves as a protective layer that helps keep your roof watertight. Inspect for any signs of wear, such as tears, cracks, or missing sections. If necessary, patch or replace the underlayment to ensure proper protection against water infiltration.
By thoroughly inspecting the surrounding area and addressing any additional repairs or maintenance tasks, you can ensure a more effective and long-lasting repair. Taking the time to prepare the area properly will not only help protect your roof from further damage but also provide a more aesthetically pleasing result.
Replacing the broken roof tile correctly
:
When it comes to replacing a broken roof tile, it’s important to take the time to do it correctly to ensure a proper seal and prevent any potential leaks. Here’s a step-by-step guide to help you replace the broken roof tile correctly.
First, gather the necessary tools and materials for the job. You will need a ladder or scaffolding to safely access the roof, a pry bar or similar tool to remove the damaged tile, a hammer and nails or roofing screws to secure the replacement tile, and roof cement or adhesive to ensure a watertight seal.
Next, carefully remove any debris or loose pieces of the broken tile from the surrounding area. This will help create a clean and smooth surface for the replacement tile. Use caution when removing the damaged tile to avoid causing further damage to the surrounding tiles.
Once the area is prepared, you can begin placing the replacement tile. Start by applying a layer of roof cement or adhesive to the backside of the new tile. This will help create a secure bond and prevent water from seeping in. Place the replacement tile firmly into position, making sure it aligns properly with the surrounding tiles.
To secure the replacement tile, use a hammer and nails or roofing screws. Drive the fasteners through the pre-drilled holes in the edges of the tile, being careful not to crack or damage the tile in the process. Ensure the fasteners are securely anchored to the roof structure.
Once the replacement tile is securely in place, it’s essential to inspect the area to ensure a proper seal. Look for any gaps or areas where water could potentially penetrate. Apply additional roof cement or adhesive as needed to ensure a watertight seal. Also, check the surrounding tiles to ensure they are properly aligned and not damaged.
By following these steps and taking the time to replace the broken roof tile correctly, you can ensure a durable and long-lasting repair. Remember to exercise caution when working on the roof, and if you are unsure or uncomfortable with the process, it’s always best to consult a professional roofer for assistance.
Securing the replaced roof tile
After successfully replacing the broken roof tile, it is essential to secure it properly to ensure its long-term durability and prevent any future damage. involves taking a few extra steps to ensure its stability and strength against external factors such as high winds and heavy rain.
1. Apply roofing cement: Start by applying roofing cement to the backside of the replaced roof tile. This will help create a strong bond between the tile and the roof surface. Using a putty knife, spread a generous amount of roofing cement on the backside of the tile, ensuring that all edges are covered.
2. Position the tile correctly: Once you have applied the roofing cement, carefully position the replaced roof tile back into its original place. Make sure it fits snugly and aligns with the surrounding tiles. Press down firmly to ensure good adhesion between the tile and the roofing material.
3. Use roofing nails: To further secure the replaced roof tile, gently insert roofing nails through the holes in the tile and into the roofing material below. It is important to use nails that are suitable for your specific roof type and thickness. Hammer the nails in carefully, being mindful not to crack or damage the tile.
4. Seal the area: Lastly, apply a layer of roofing cement around the edges of the replaced tile to seal any gaps or openings. This will provide an extra layer of protection against water infiltration and prevent any potential leaks.
Remember, the key to lies in meticulousness and attention to detail. Ensure that all steps are followed correctly to guarantee the tile’s stability and prevent any future issues. Regular maintenance and inspection of your roof can also help identify and address any potential problems before they escalate. By staying proactive, you can prolong the lifespan of your roof and preserve the integrity of your home.
Ensuring long-term durability and prevention measures
To ensure the long-term durability of your roof and prevent future damage, there are a few important measures you should take. These measures will not only extend the lifespan of your roof but also save you from costly repairs in the future.
1. Regular inspections: It is crucial to inspect your roof regularly, especially after extreme weather conditions such as storms or heavy rains. Look out for any signs of damage, cracks, or loose tiles. Catching these issues early on can prevent further damage and costly repairs.
2. Maintenance and cleaning: Keep your roof clean from debris, leaves, and tree branches as they can cause potential damage and block proper drainage. Regularly clean your gutters to ensure water flows freely and does not accumulate on your roof.
3. Waterproofing: Implementing waterproof measures is essential to protect your roof from moisture damage. Applying a high-quality waterproofing sealant can greatly enhance your roof’s resistance to water, preventing leaks and potential cracks.
4. Trim trees and branches: Overhanging branches can cause damage to your roof during storms or strong winds. Trim any branches that are leaning directly over your roof to prevent them from falling and causing damage.
5. Professional roof inspections: It is a good idea to have a professional roofing contractor inspect your roof every few years. They can identify potential issues that may not be visible to the naked eye and perform necessary repairs or maintenance.
6. Install proper attic insulation and ventilation: Proper insulation and ventilation in your attic can help maintain a consistent temperature in your home and prevent the formation of ice dams. This will protect your roof from excessive heat or cold, reducing the risk of damage.
By implementing these long-term durability and prevention measures, you can ensure the integrity of your roof and avoid costly repairs in the future. Proper maintenance, regular inspections, and taking necessary steps to protect your roof will not only enhance its longevity but also give you peace of mind knowing that your home is well-protected.
People Also Ask
Can I repair a broken roof tile myself?
Yes, it is possible to repair a broken roof tile yourself if you have the necessary tools and experience. However, it is recommended to hire a professional roofing contractor to ensure a proper and secure repair.
What tools do I need to repair a broken roof tile?
To repair a broken roof tile, you will need a pry bar, a hammer, a replacement tile, roofing nails or adhesive, and safety equipment such as gloves and safety goggles.
How do I remove a broken roof tile?
To remove a broken roof tile, carefully lift the tiles above it using a pry bar, then use the pry bar to lift and remove the broken tile. Be cautious not to damage the surrounding tiles.
Can I just glue a broken roof tile back together?
Gluing a broken roof tile back together is not recommended as it may not provide a strong and long-lasting repair. It is best to replace the broken tile with a new one for a more secure fix.
Should I replace a single broken roof tile or the whole section?
If only one roof tile is broken, it is usually sufficient to replace that single tile. However, if there are multiple broken or damaged tiles in the same section, it may be more practical to replace the whole section for a more uniform and effective repair.
Key Takeaways
In conclusion, repairing a broken roof tile is a task that can be done by homeowners with basic DIY skills. It is crucial to pay attention to safety precautions and gather the necessary tools and materials before starting the repair process. Remember to inspect the surrounding tiles as well, as they may also require attention to prevent future damage.
By following the step-by-step guide outlined above, you can successfully repair a broken roof tile and prevent water leaks or further deterioration. Remember to take your time and be cautious during the process to ensure your safety.
If you notice extensive damage or do not feel comfortable performing the repair yourself, it is recommended to seek the assistance of a professional roofing contractor. They have the expertise and experience to handle more complex repairs and ensure a long-lasting solution for your roof.
Maintaining a solid and intact roof is essential for the overall integrity of your home. Regular inspections, prompt repairs, and proper maintenance will help extend the lifespan of your roof and protect your property from potential damage.
Take the necessary steps today to repair any broken roof tiles and keep your home safe and well-maintained.

Certified Roofing Specialist
Jonathan Parker, a certified roofing specialist, is known for his problem-solving skills and proactive approach to roof maintenance. His goal is to provide sustainable roofing solutions that withstand Fresno’s diverse weather conditions.