Are you tired of constantly dealing with leaky roofs and costly repairs? If so, then it’s time to consider installing a rubber roof. Rubber roofing is quickly gaining popularity in the roof repair niche due to its durability, affordability, and ease of installation. Whether you’re a DIY enthusiast or hiring a professional, learning how to install a rubber roof can save you time, money, and endless headaches. In this article, we’ll guide you through the step-by-step process of installing a rubber roof while sharing expert tips and tricks along the way. So, grab your tools and let’s get started on transforming your roof into a durable fortress that can withstand the elements!
Choosing the Right Materials for a Rubber Roof Installation
is a crucial step in ensuring the longevity and effectiveness of your roof. With numerous options available in the market, it is important to understand the different types of materials and their suitability for your specific roofing needs.
One of the primary materials used in rubber roof installations is EPDM (ethylene propylene diene terpolymer). This synthetic rubber membrane is known for its durability, flexibility, and resistance to extreme weather conditions. EPDM is available in both black and white colors, with the latter being a popular choice for its energy-saving properties.
Another material option is TPO (thermoplastic olefin), which is a blend of rubber and plastic. TPO membranes are lightweight, UV-resistant, and have excellent thermal insulation properties, making them ideal for areas with hot climates. They are also available in various colors to suit the aesthetic preferences of homeowners.
When choosing materials for a rubber roof installation, it is essential to consider the climate in your region, the slope and size of your roof, and your budget. Research and consult with roofing experts to determine the best material for your specific needs.
Factors to Consider:
- Climate: Choose materials that are suitable for the weather conditions in your area. If you live in a region with heavy rainfall or extreme temperatures, opt for materials that offer excellent waterproofing and insulation properties.
- Roof Slope: The slope of your roof can affect how the materials are installed and how well they perform. Some materials are better suited for flat roofs, while others are designed for steep slopes.
- Size of the Roof: Consider the size of your roof when selecting materials. Larger roofs may require materials that are more cost-effective and easier to install.
- Budget: Set a budget for your rubber roof installation project and choose materials that align with it. Keep in mind that investing in high-quality materials may result in longer-lasting and more reliable roofing solutions.
Remember, is just the first step. Proper installation, regular maintenance, and timely repairs are equally important in maximizing the lifespan of your rubber roof and keeping your home protected.
Preparing Your Roof for a Rubber Membrane Installation
Before you can install a rubber membrane on your roof, it is crucial to prepare the surface properly. This will ensure that the rubber adheres correctly and provides a long-lasting and durable solution for your roof repair needs. Here are some essential steps to follow when .
1. Clean the Roof Surface: Start by removing any debris, loose shingles, or other materials from the roof. Use a broom or a leaf blower to clear away leaves, dirt, and other loose particles. It is important to have a clean and dry surface for the rubber membrane to adhere to effectively.
2. Inspect and Repair: Take this opportunity to carefully inspect the entire roof for any damages or areas that require repair. Look for signs of leaks, cracks, or other structural issues. Fix any damaged or rotten sections of the roof and replace any missing shingles or tiles. It is essential to have a strong and stable roof structure to support the weight of the rubber membrane.
3. Remove Existing Roofing Material: If your roof has multiple layers of shingles or any other roofing material, it is necessary to remove them before installing the rubber membrane. This will provide a smooth and flat surface for the membrane to adhere to. Use a pry bar or a roofing shovel to carefully remove the old roofing materials, taking care not to damage the underlying structure.
4. Repair and Seal Flashing: Inspect the flashing around chimneys, vent pipes, skylights, and other roof openings. Ensure that the flashing is intact and securely attached to the roof. If there are any signs of damage or deterioration, repair or replace the flashing as necessary. Properly sealed flashing is crucial for preventing leaks and ensuring the overall integrity of your rubber roof.
By following these preparatory steps, you can ensure that your roof is ready for a rubber membrane installation. Taking the time to clean, inspect, and repair your roof will result in a solid foundation for the rubber to adhere to and prolong the lifespan of your roof.
Step-by-Step Guide: Installing a Rubber Roof on Your House
Installing a rubber roof on your house can be a relatively straightforward process if you follow the right steps and have the necessary materials and tools. This section will guide you through the installation process, ensuring that you have a functional and durable rubber roof that will protect your home for years to come.
To begin the installation, start by preparing the surface of your roof. Remove any existing roofing materials, such as shingles or tiles, and ensure that the underlying structure is clean and in good condition. Repair any damaged areas and make sure the roof is free of debris. It’s important to have a smooth and flat surface for the rubber membrane to adhere to.
Next, measure and cut the rubber membrane according to the dimensions of your roof. Be sure to leave an overhang of approximately six inches on all edges to account for potential movement and accommodate for drainage. Lay the membrane out on the roof, making sure it is properly aligned and centered.
Now comes the crucial step of adhering the rubber membrane to the roof. Begin in one corner and carefully fold back a section of the membrane. Apply a layer of adhesive to both the roof surface and the underside of the membrane using a roller or brush. Once the adhesive becomes tacky, align the membrane with the roof and press it down firmly, smoothing out any wrinkles or bubbles as you go.
Repeat this process section by section, applying the adhesive and securing the membrane until the entire roof is covered. If there are any penetrations, such as vents or skylights, cut out openings in the membrane and securely seal them with flashing or appropriate materials.
After the membrane is securely in place, trim off any excess rubber and ensure that all edges are properly sealed. Use a heavy-duty roller to go over the entire roof surface, ensuring proper adhesion and eliminating any air pockets. This will create a strong bond between the membrane and the roof surface.
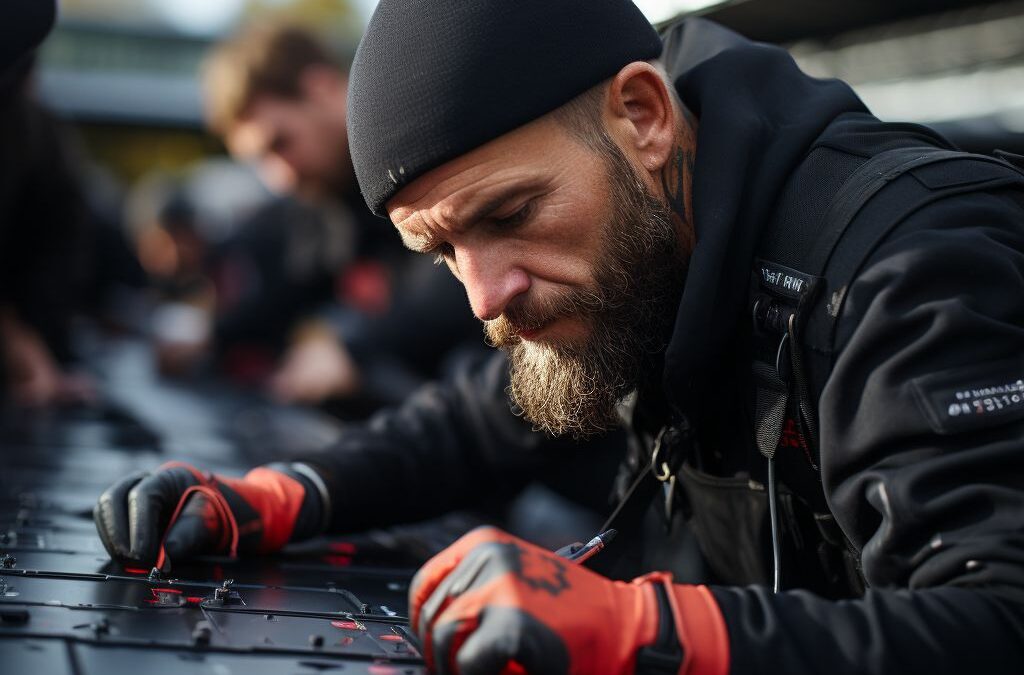
It is advisable to seek professional assistance or guidance during the installation process, particularly if you are inexperienced or have a complex roofing structure. A correctly installed rubber roof can last for several decades, providing excellent protection against weather elements and reducing the need for frequent repairs. By following this step-by-step guide, you can confidently install a rubber roof on your house and enjoy the benefits of a durable and long-lasting roofing solution.
Ensuring Proper Drainage for Your Rubber Roof
Proper drainage is crucial for maintaining the integrity and longevity of your rubber roof. Without proper drainage, water can collect and pool on the roof’s surface, leading to potential leaks and damage over time. To ensure the best drainage for your rubber roof, consider implementing the following steps and techniques.
Firstly, it is important to inspect your roof’s existing drainage system to identify any potential issues or areas in need of improvement. This includes checking for clogged gutters or downspouts, as well as assessing the slope and pitch of your roof. A flat or improperly sloped roof can impede water flow and cause puddling, so it may be necessary to consult a professional to adjust the pitch if needed.
Next, you should install a rubber roof membrane with integrated drainage systems. These membranes often have grooves or channels designed to direct water towards drains or gutters, preventing pooling and potential damage. Ensure that the membrane is properly installed and secured to prevent any gaps or openings where water can seep through.
In addition to the membrane, you can also install additional drainage components such as scuppers or roof drains. These fixtures help to efficiently channel water off the roof and away from the building. Regularly inspect and clean these drains to prevent blockages and ensure proper functionality.
To further enhance drainage, consider creating a tapered insulation system. This involves adding layers of tapered insulation boards to the roof surface, gradually sloping towards the drains. This technique helps to redirect water towards the drainage system and prevent any accumulation on the roof.
Finally, it is crucial to maintain your rubber roof’s drainage system to ensure its effectiveness over time. Cleaning and removing debris from gutters, drains, and scuppers will prevent blockages and ensure proper water flow. Additionally, regular inspections and repairs should be conducted to identify any potential issues and address them promptly.
By implementing these steps, you can ensure that your rubber roof has proper drainage, minimizing the risk of leaks and damage. A well-maintained drainage system will help your rubber roof withstand the elements and provide long-lasting protection for your home or building.
Tips and Tricks for Maintaining and Repairing Your Rubber Roof
Maintaining and repairing a rubber roof is essential to prolong its lifespan and ensure its durability. Here are some helpful tips and tricks for keeping your rubber roof in top-notch condition.
Regular Inspections: Make it a habit to inspect your rubber roof at least twice a year, ideally in the spring and fall. Look for any signs of damage, such as holes, cracks, or loose seams. Inspect the flashing, gutters, and downspouts as well to ensure proper drainage.
Cleaning: A clean rubber roof not only looks better but also helps prevent the growth of moss, algae, and other contaminants. Use a mild detergent and a soft-bristle brush to gently clean the surface. Avoid using harsh chemicals or pressure washers, as they can damage the rubber membrane. Rinse thoroughly with water afterward.
Sealing and Patching: If you notice any small holes or tears in your rubber roof, it’s crucial to address them promptly to prevent further damage. Clean the damaged area thoroughly and apply a rubber roof patch or sealant. Follow the manufacturer’s instructions for the specific product you choose.
Snow Removal: If you live in an area with heavy snowfall, it’s important to remove excess snow from your rubber roof to prevent overload. Use a roof rake or a soft broom to carefully remove the snow, taking caution not to damage the membrane. Avoid using shovels or sharp objects that could puncture the rubber surface.
Preventing Ponding Water: Ponding water can contribute to roof damage over time. Ensure your rubber roof has proper drainage by regularly clearing debris from gutters and downspouts. Consider installing additional roof drains or creating slight slopes to help water flow away from the surface.
Protective Coatings: Applying a protective coating to your rubber roof can help prolong its lifespan and protect it from UV rays and other environmental factors. Choose a high-quality, elastomeric coating specifically designed for rubber roofs. Follow the manufacturer’s instructions for proper application.
Professional Inspections: While regular inspections are essential, it’s a good idea to have a professional roofer inspect your rubber roof every few years. They can identify any hidden issues or areas in need of repair and provide recommendations for maintenance and improvements.
By following these tips and tricks, you can ensure your rubber roof remains in excellent condition for years to come. Remember to consult a professional if you’re unsure about any maintenance or repair tasks, as they have the expertise to handle them correctly and safely.
People Also Ask
1. Are rubber roofs easy to install?
Yes, rubber roofs are relatively easy to install. They can be installed by homeowners with some DIY experience, but it is recommended to hire a professional roofing contractor for a proper and secure installation.
2. What materials are needed to install a rubber roof?
The materials needed to install a rubber roof include rubber roofing membrane, adhesive or tape, seam primer, flashing, and any necessary tools like scissors, rollers, and brushes. Additionally, a suitable substrate or insulation may be required depending on the specific installation.
3. Can I install a rubber roof over an existing roof?
In some cases, a rubber roof can be installed over an existing roof. However, it is important to assess the condition of the existing roof beforehand. It is recommended to consult with a professional roofer to determine whether the existing roof is suitable for the installation of a rubber roof.
4. How long does it take to install a rubber roof?
The time it takes to install a rubber roof depends on various factors, including the size and complexity of the roof, the experience of the installer, and any additional preparations needed. Generally, it can take a few days to a week to complete the installation.
5. Do I need to hire a professional to install a rubber roof?
While rubber roofs can be installed by homeowners with the right knowledge and experience, it is recommended to hire a professional roofing contractor. They have the expertise and equipment to ensure a proper and long-lasting installation, reducing the risk of any issues or complications in the future.
In Summary
In conclusion, installing a rubber roof can be a cost-effective and durable solution for your home or building. By following the proper steps outlined in this guide, you can successfully install a rubber roof and enjoy its benefits for years to come.
Remember to start by preparing the roof surface, removing any old roofing materials, and ensuring a clean and dry surface. Next, apply a primer to enhance adhesion and allow it to dry completely. Then, carefully measure and cut the rubber membrane to fit your roof, making sure to leave a small overlap. Adhere the rubber membrane using adhesive or adhesive tape, and smooth out any wrinkles or air bubbles.
After the rubber membrane is in place, secure the edges with flashing and use a seam primer and adhesive to seal any seams or joints. Finally, complete the installation by adding any necessary roof accessories, such as flashing or vents.
Installing a rubber roof can be a DIY project, but it requires careful attention to detail and adherence to proper installation techniques. If you’re unsure or uncomfortable with any aspect of the installation, it’s always best to consult a professional roofing contractor. They have the expertise and experience to ensure a successful and long-lasting rubber roof installation.
By following these steps and seeking professional help when needed, you can successfully install a rubber roof that will provide excellent protection and durability for your home or building. Good luck with your project!

Commercial Roofing Consultant
Matthew Carter’s forte lies in commercial roofing systems, particularly flat roofs and metal structures. His expertise and attention to detail guarantee reliable and tailored solutions for businesses in Fresno.